Recipe for a Roman-Style Glassworking Furnace (à la Butser)
In an incredible team effort - during the August heatwave, no less - we added a new installation to Butser’s hot tech area - a rather large Roman-style glassworking furnace! Kim Devereux-West shares more about the exciting new project she led at the farm.

This experimental build is part of my PhD project at Newcastle University: ‘Windows into Ancient Recycling at Fishbourne Roman Palace’. The design is based on the archaeological evidence for glassworking furnaces in Roman Britain. However, given how limited this data is, experiments like this are essential for understanding ancient glassworking. I hope to use this furnace to replicate matte-glossy window panes, like those found at Fishbourne Roman Palace.
So how did we do it? Well, I’ve written a handy little recipe to explain exactly that…
Recipe for a Roman-Style Glassworking Furnace (à la Butser)
INGREDIENTS
625kg of pre-grogged clay (50 x 12.5kg bags)
Approx.1 small bale of hay, chopped
Approx. 50 pre-fired handmade Victorian bricks
Approx. 10 buckets of Roman ceramic building material (CBM)
10 modern clay tiles
A handful of stone slabs

INSTRUCTIONS
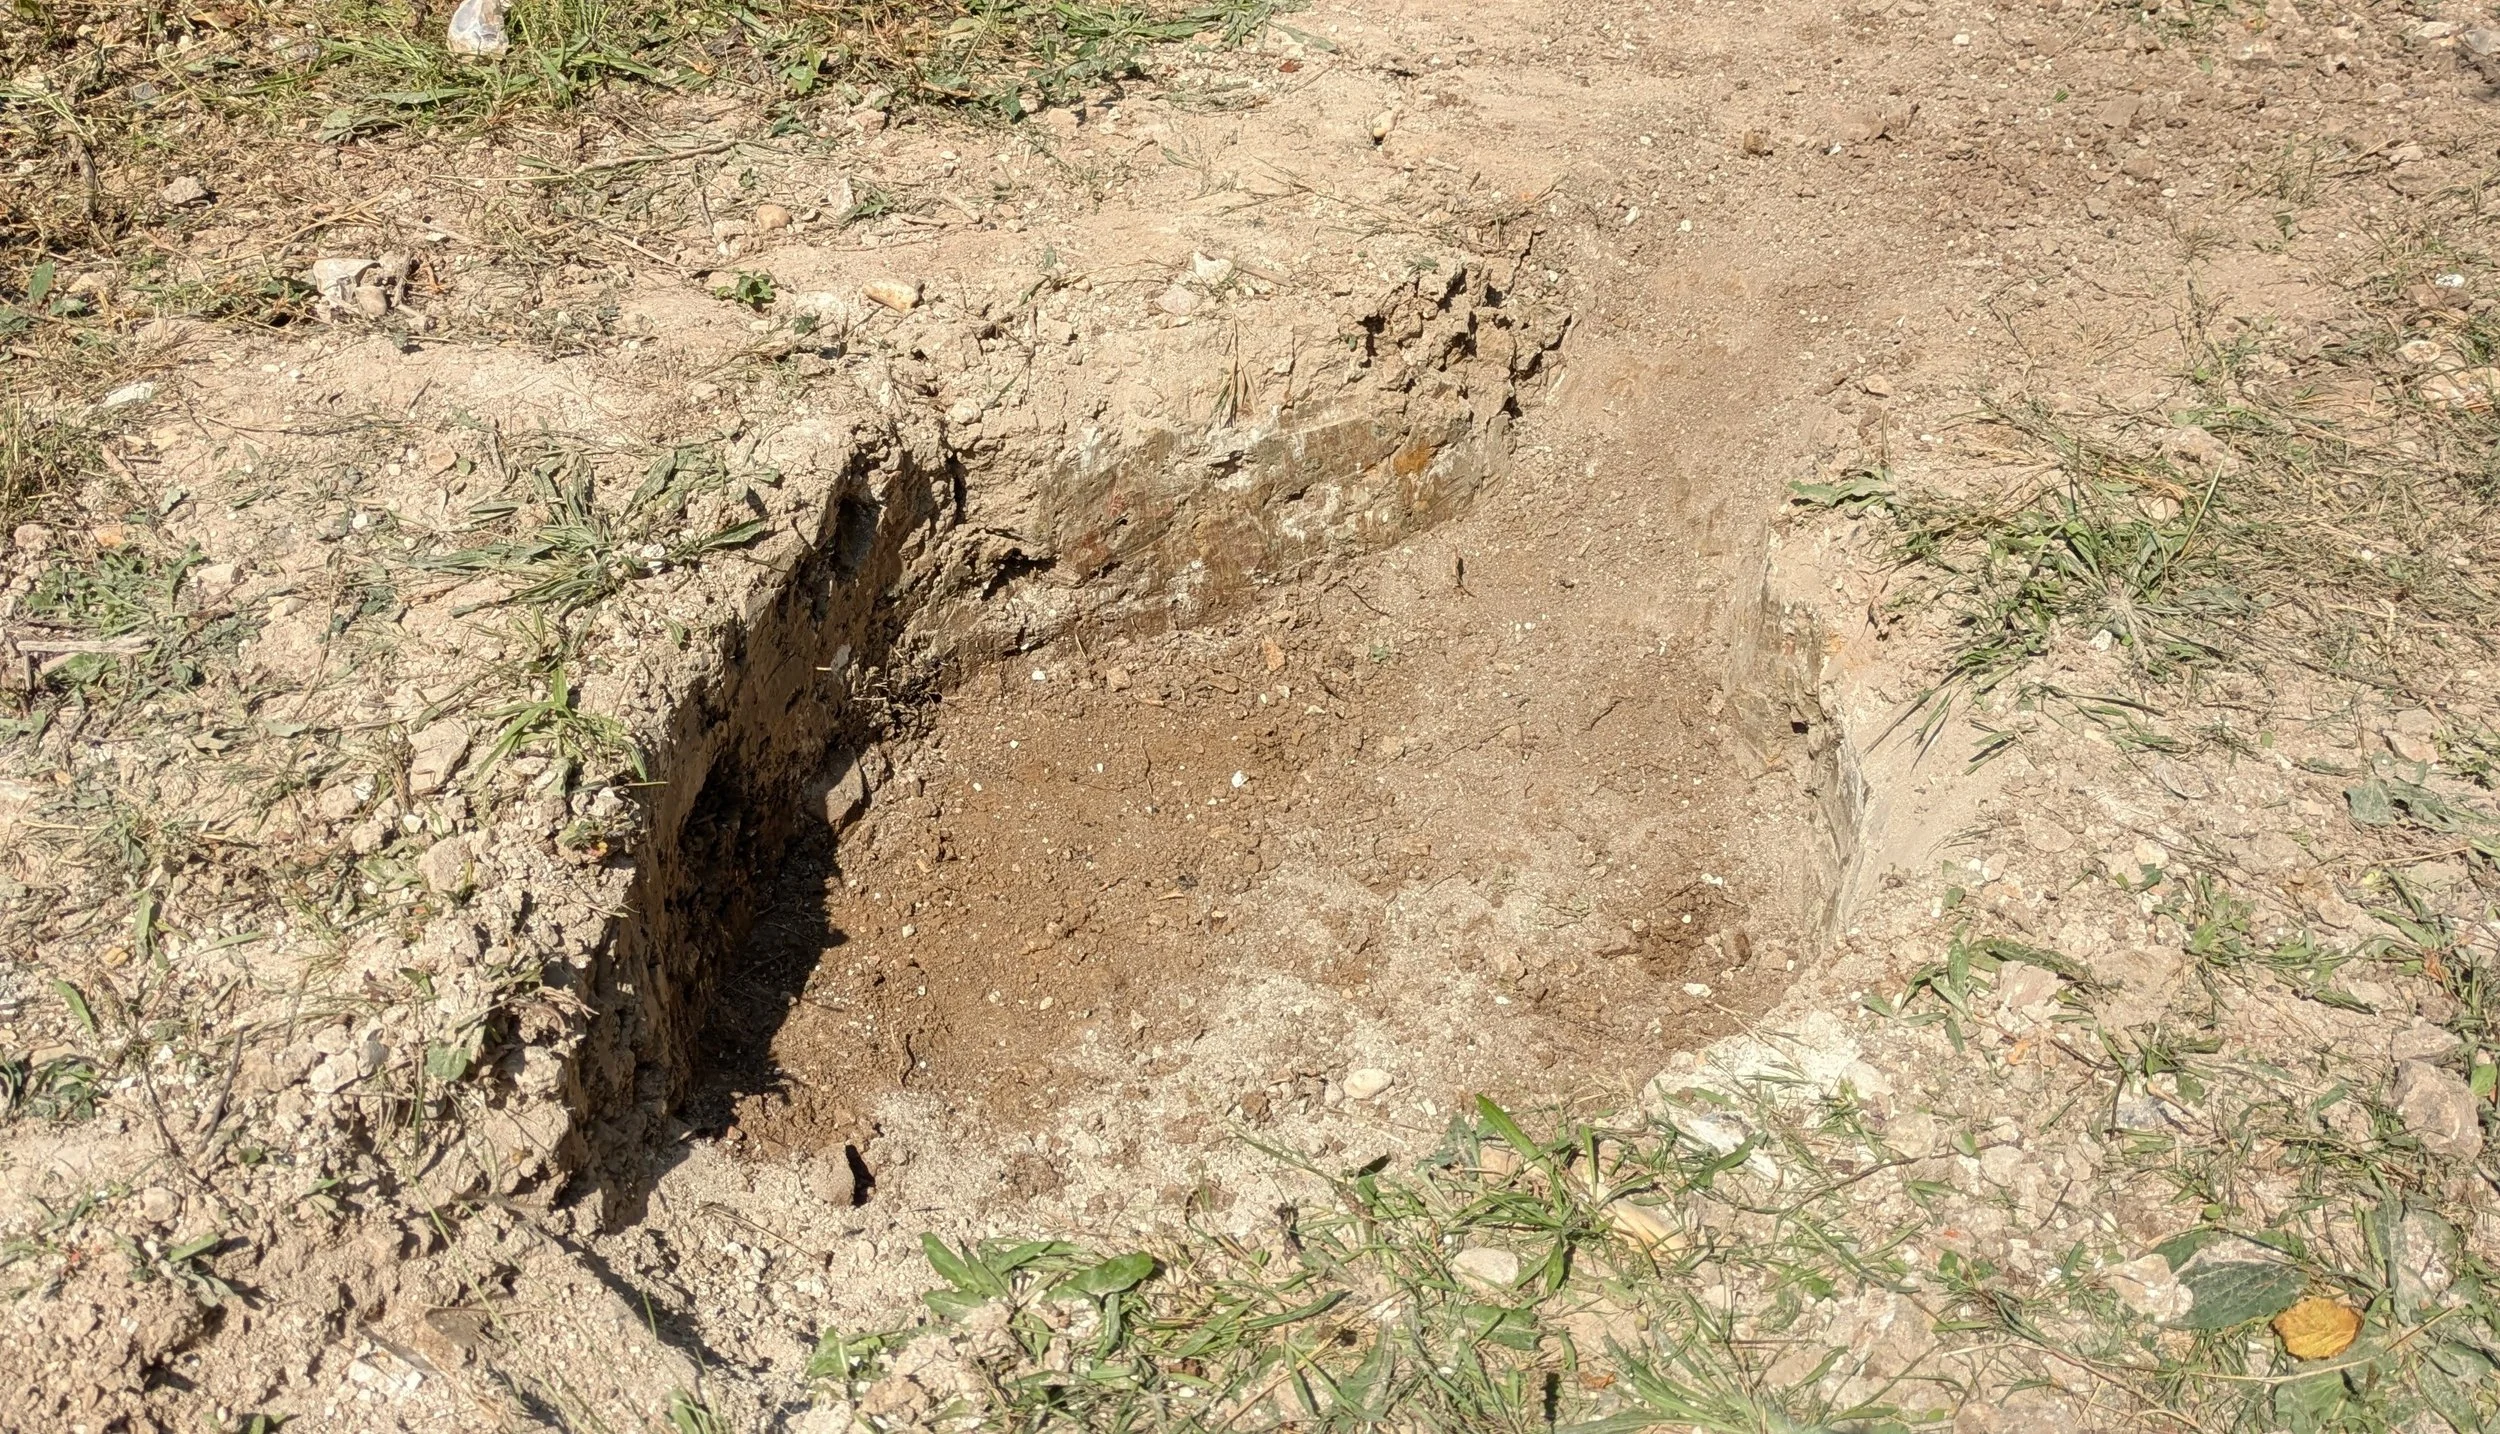
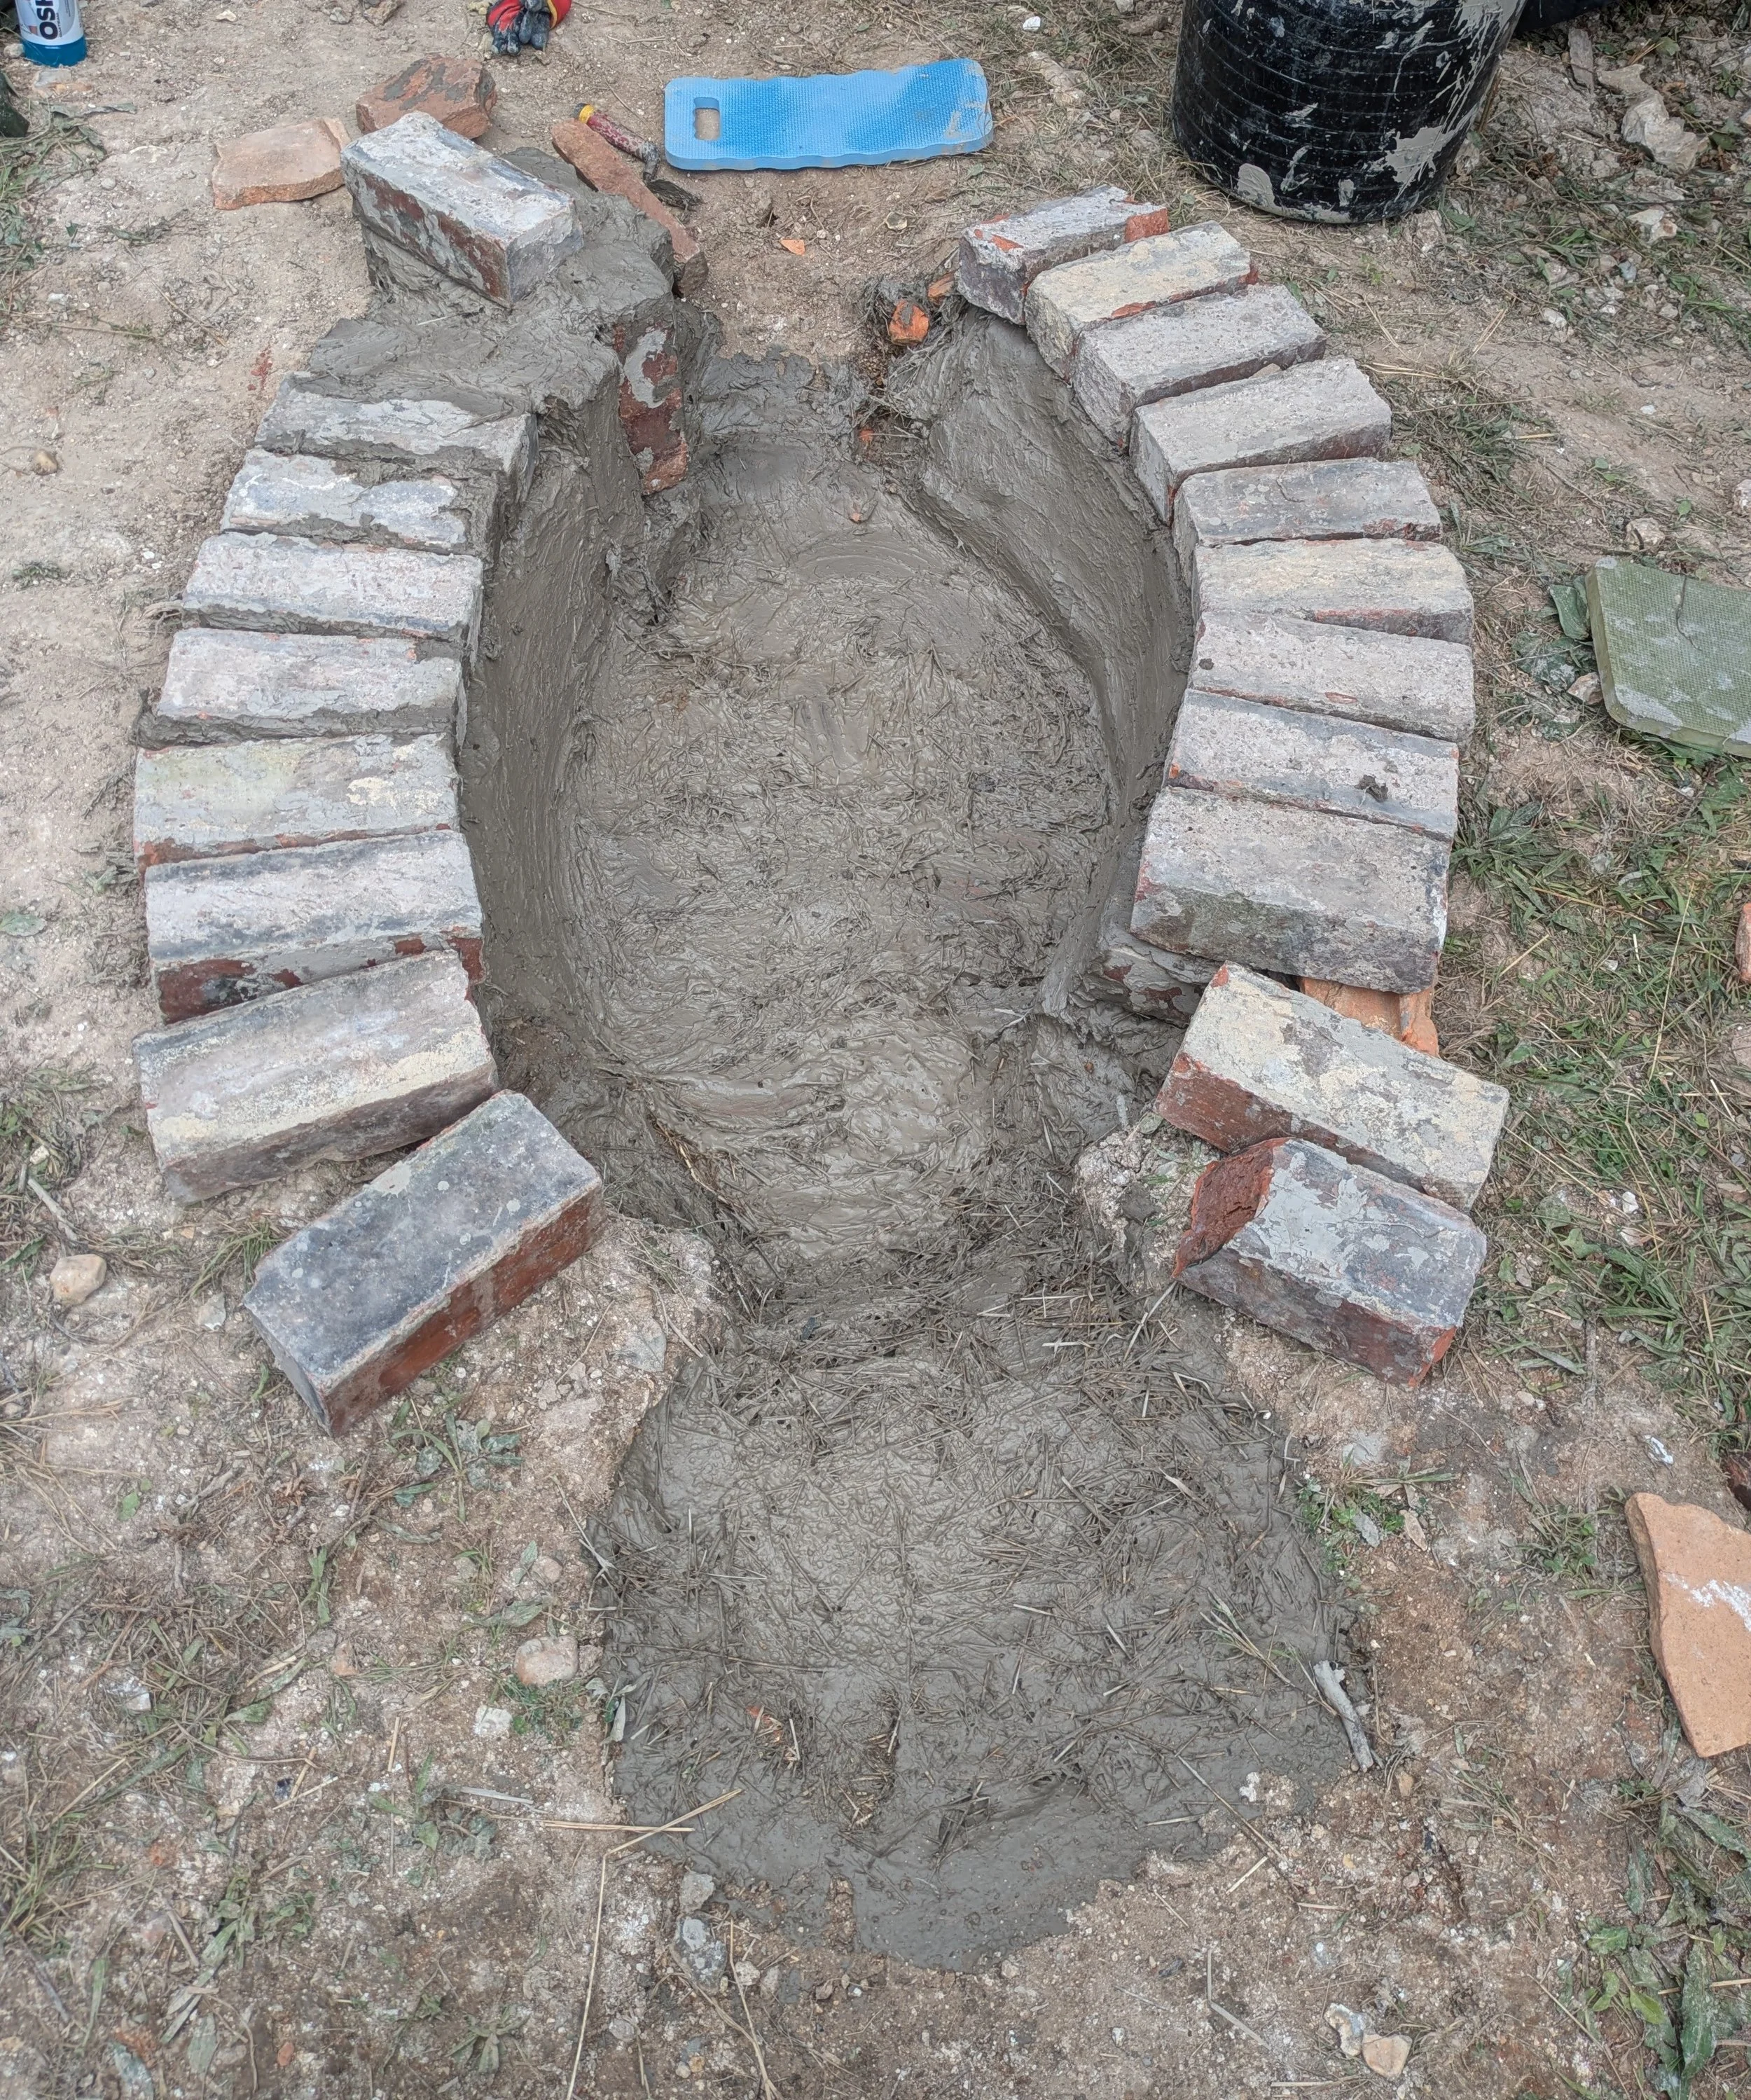
Step 1: Dig the Fire Chamber
Dig a circular hole about 1m wide and 30cm deep, with sloped openings 30cm wide on opposite sides. Designate one sloped opening as the stoke hole for adding wood to the fire and the other for airflow and ash removal.
This was probably the hardest part for our team - digging through very dry, very solid stony clay on one of the hottest days of the year was not ideal…
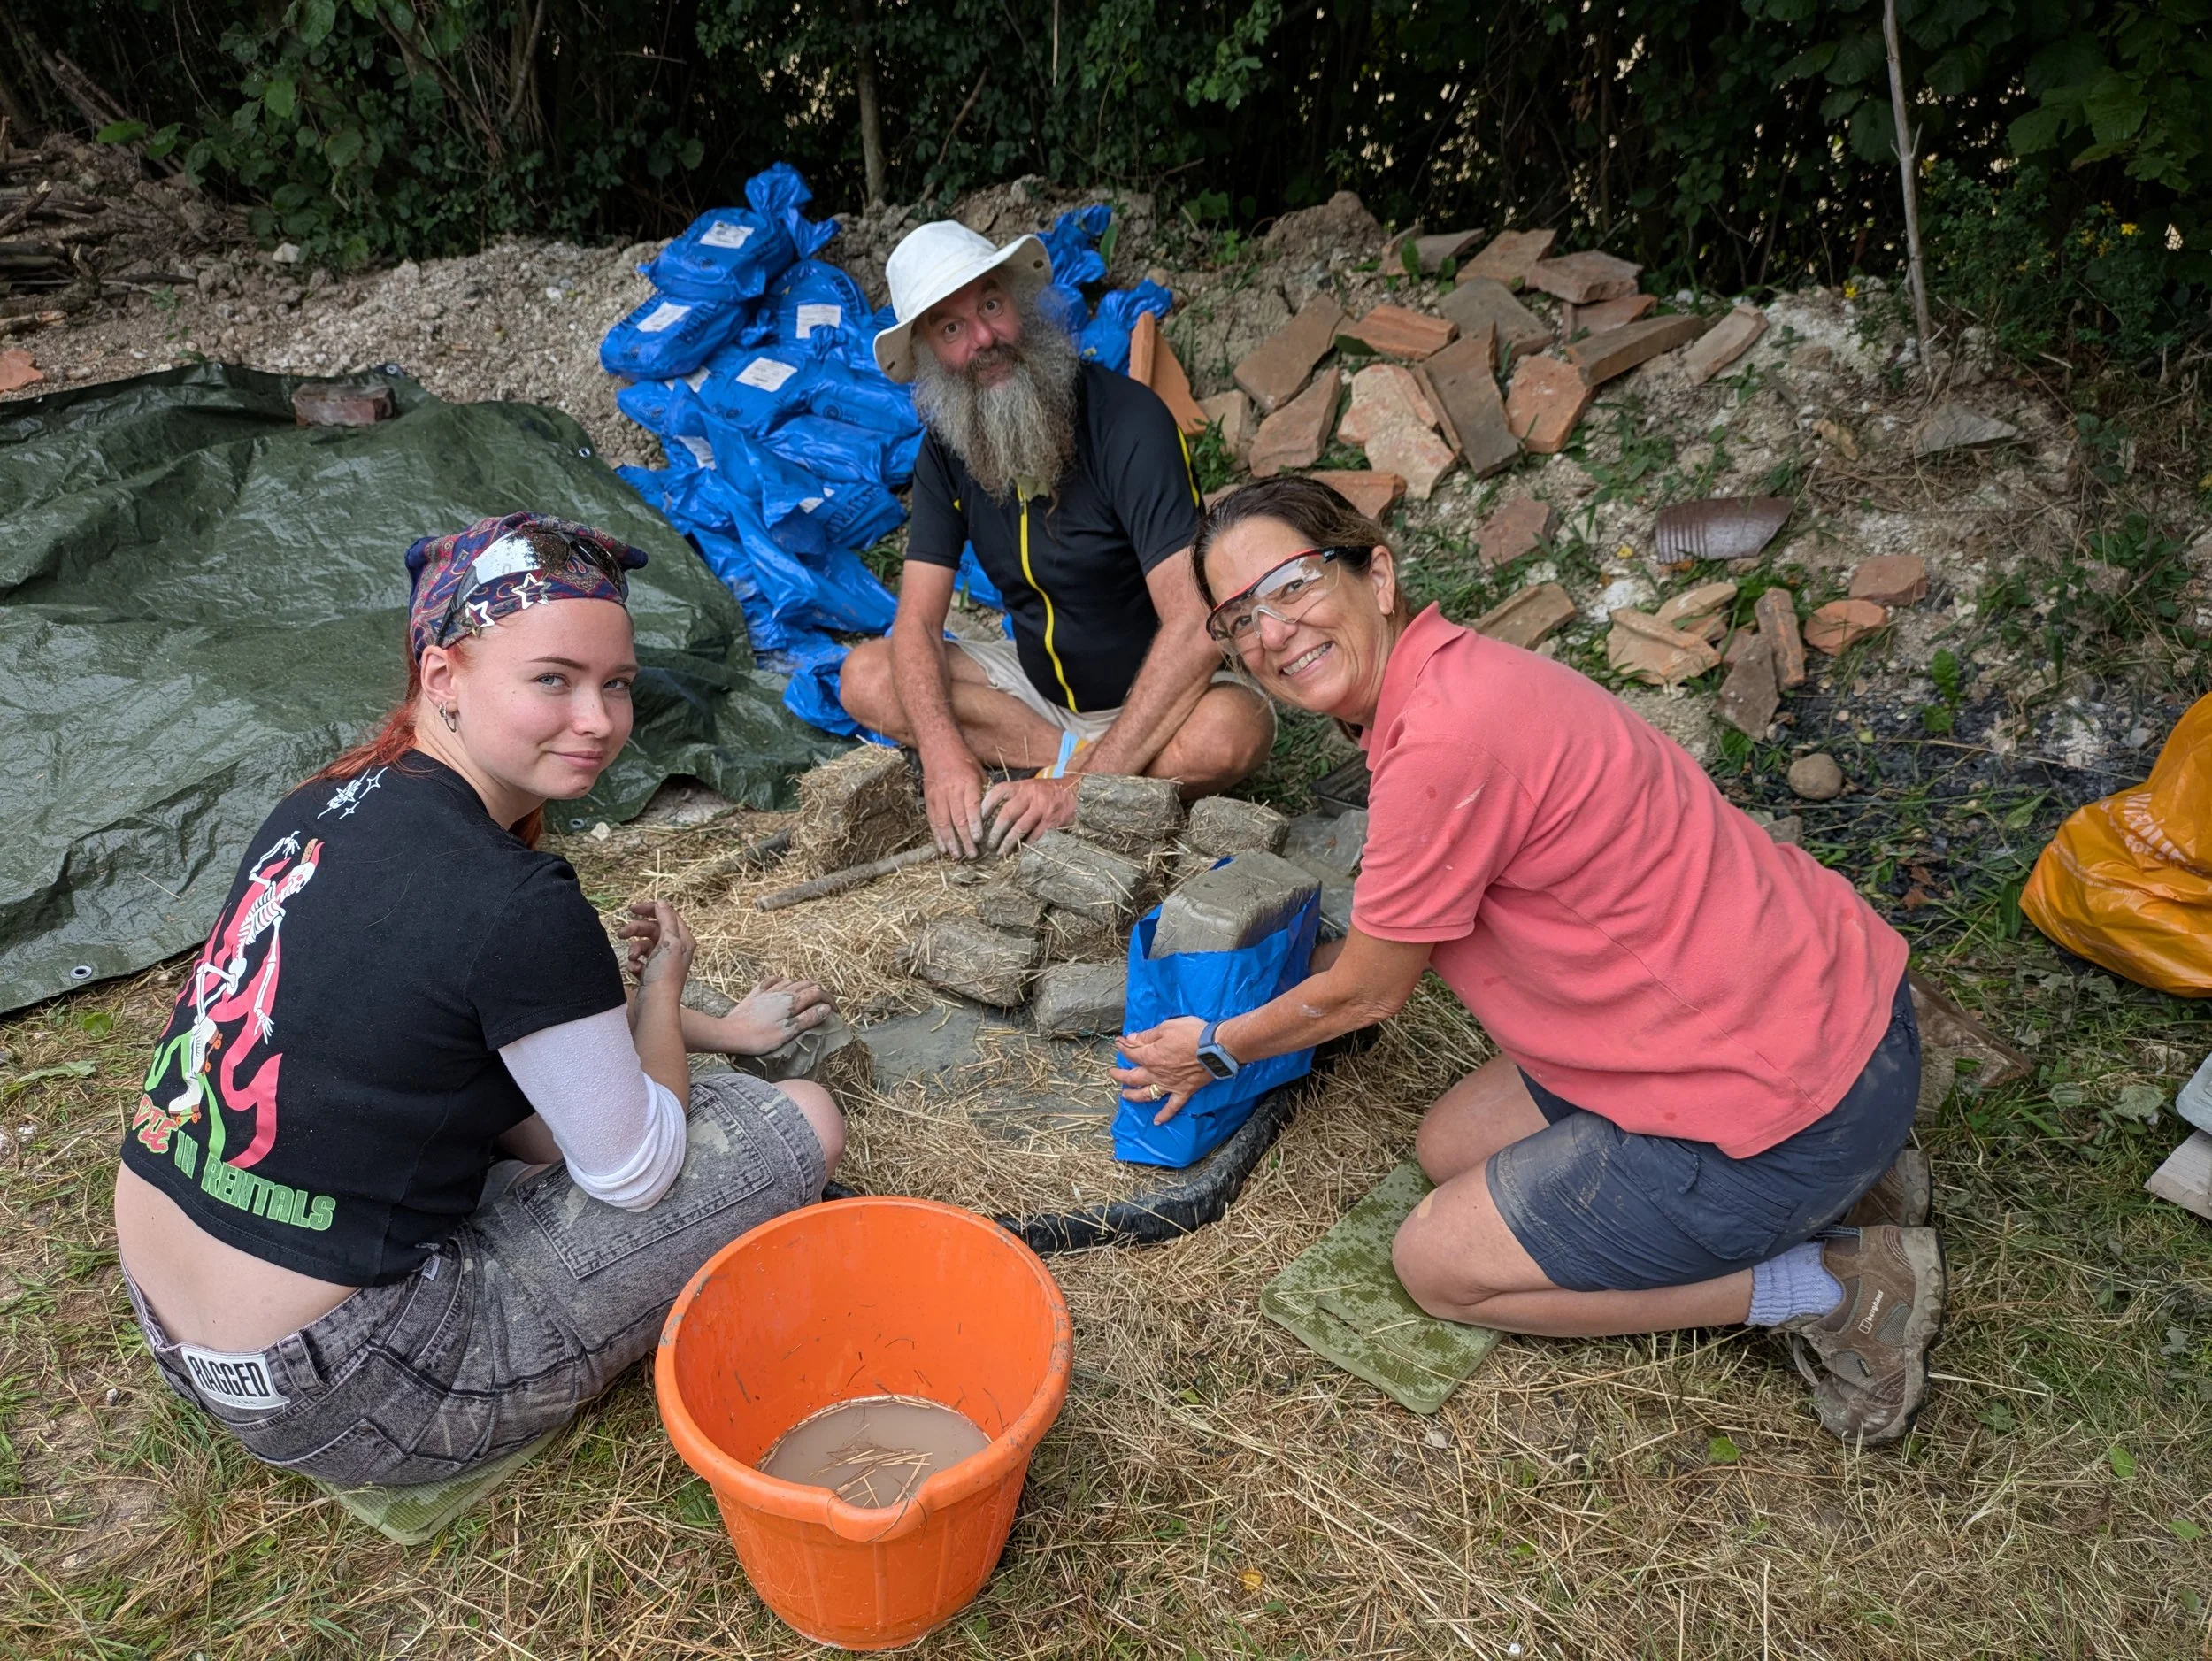
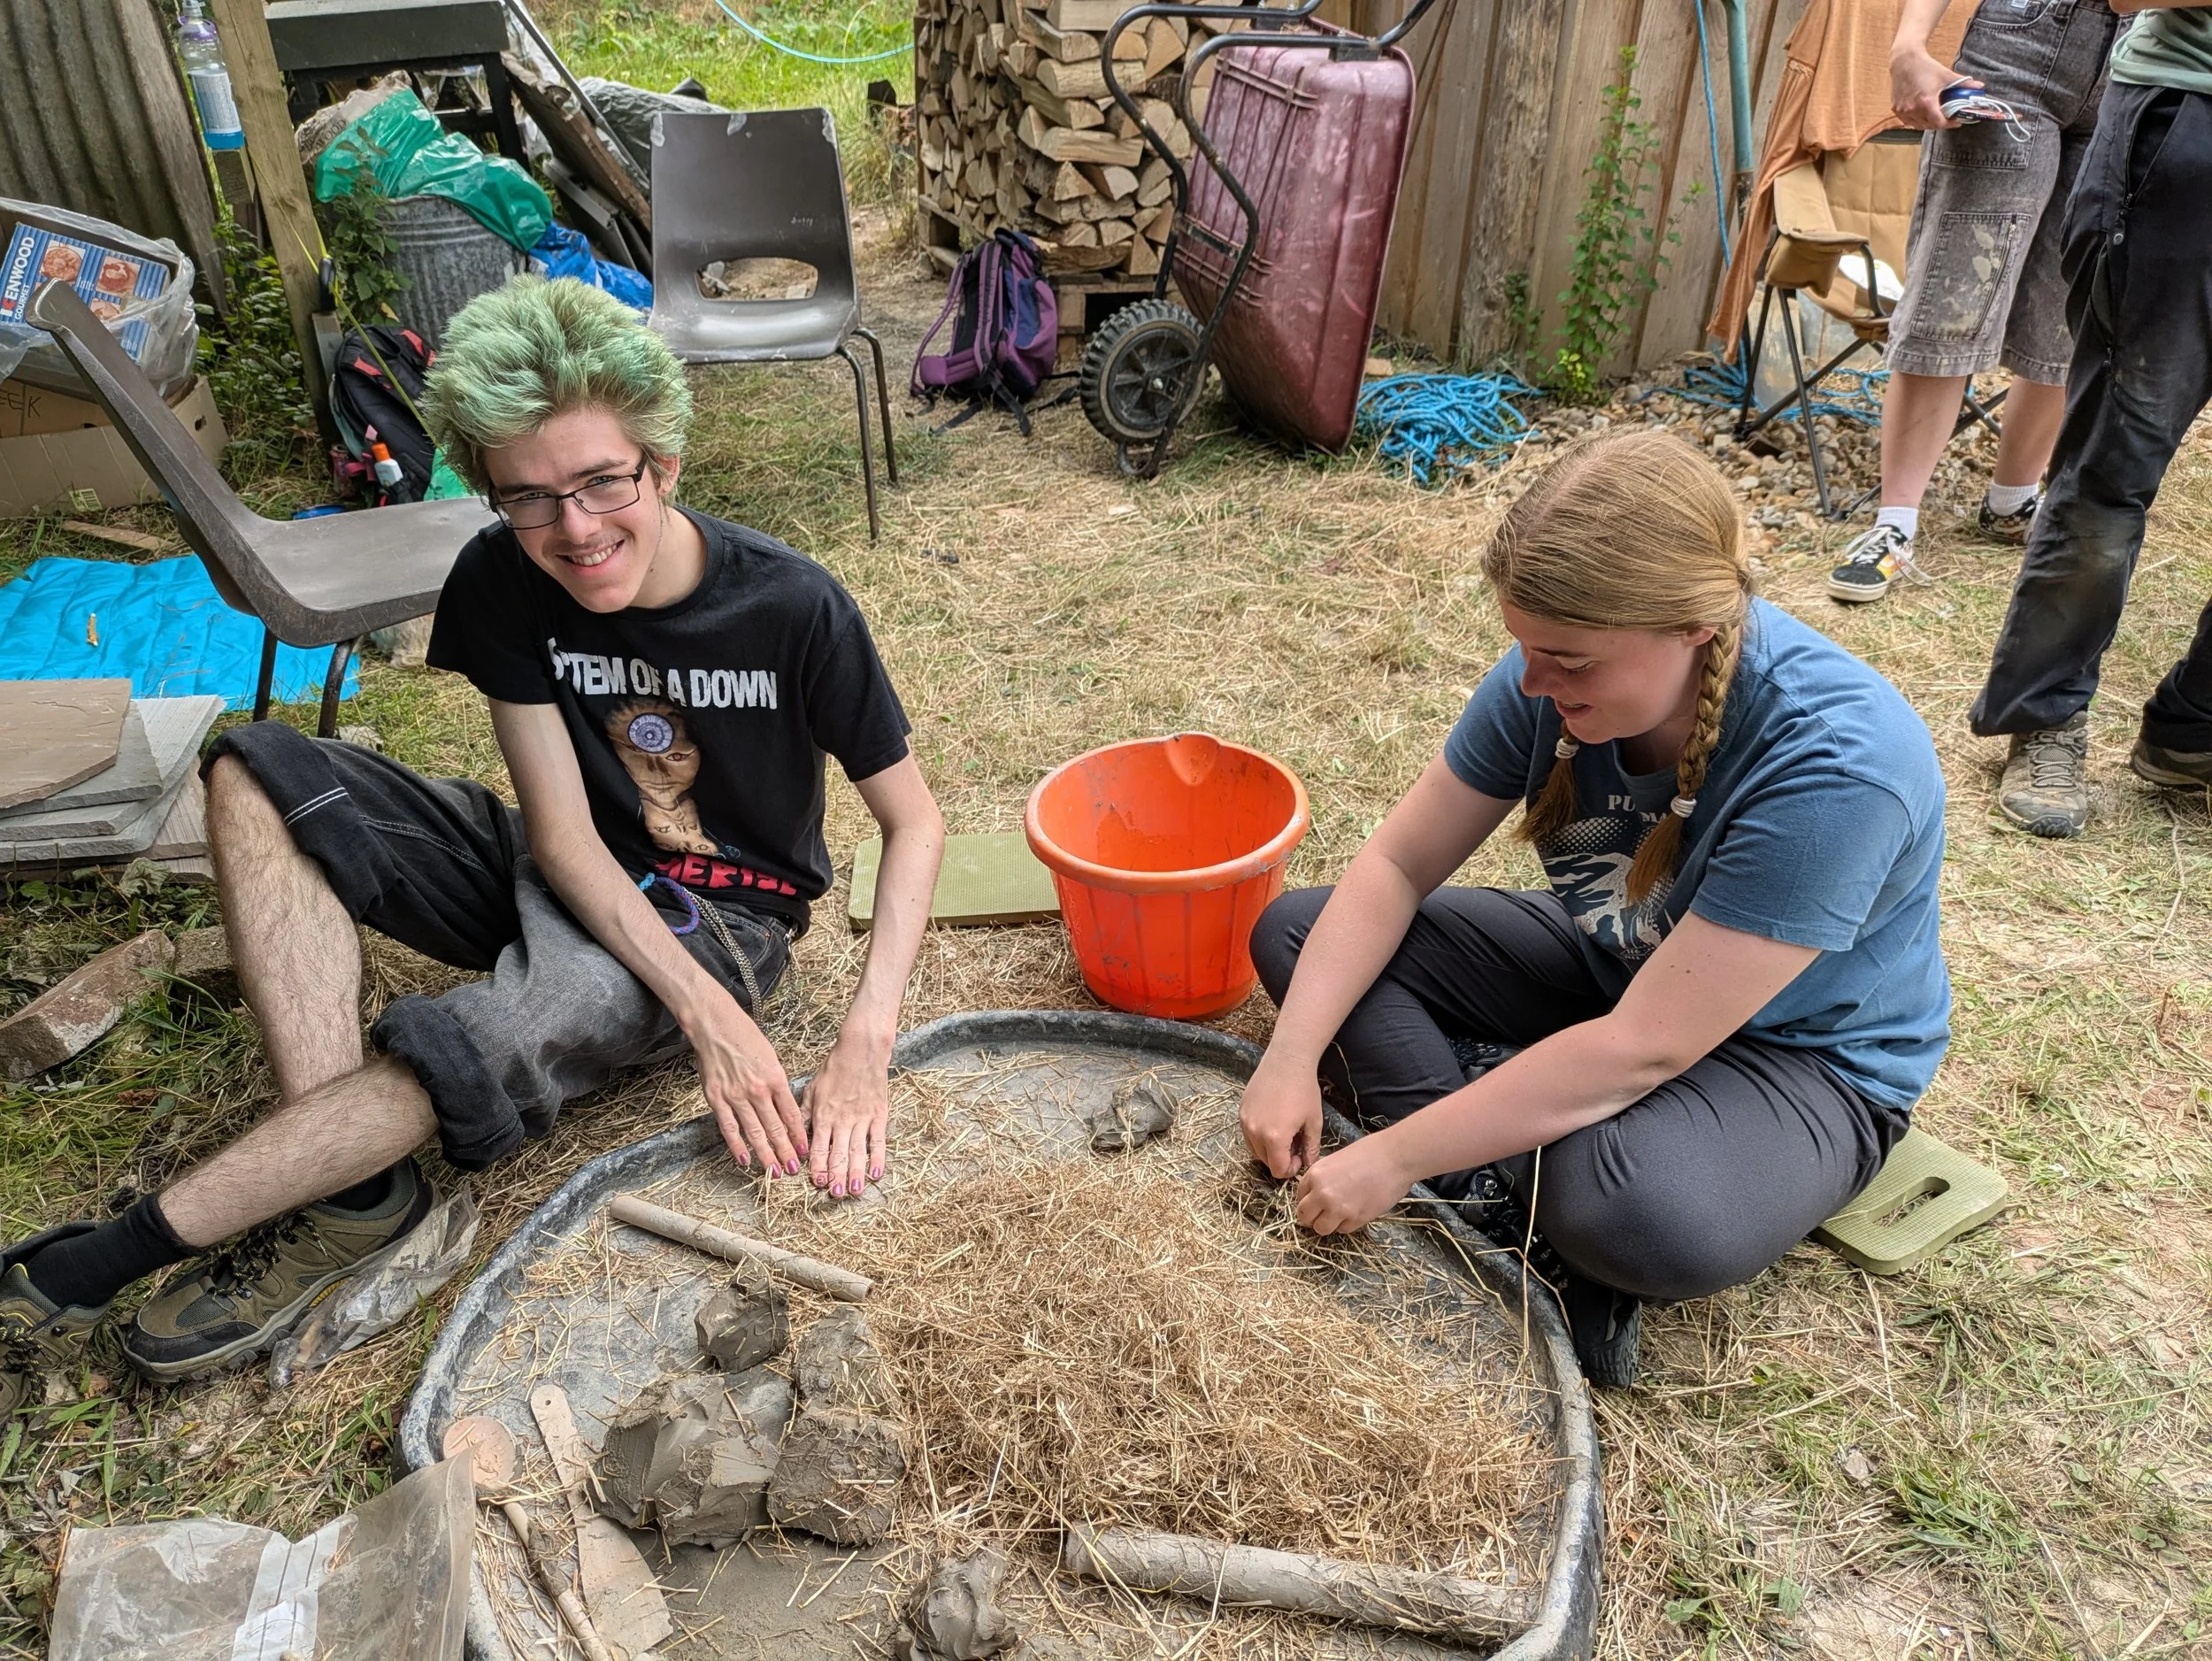
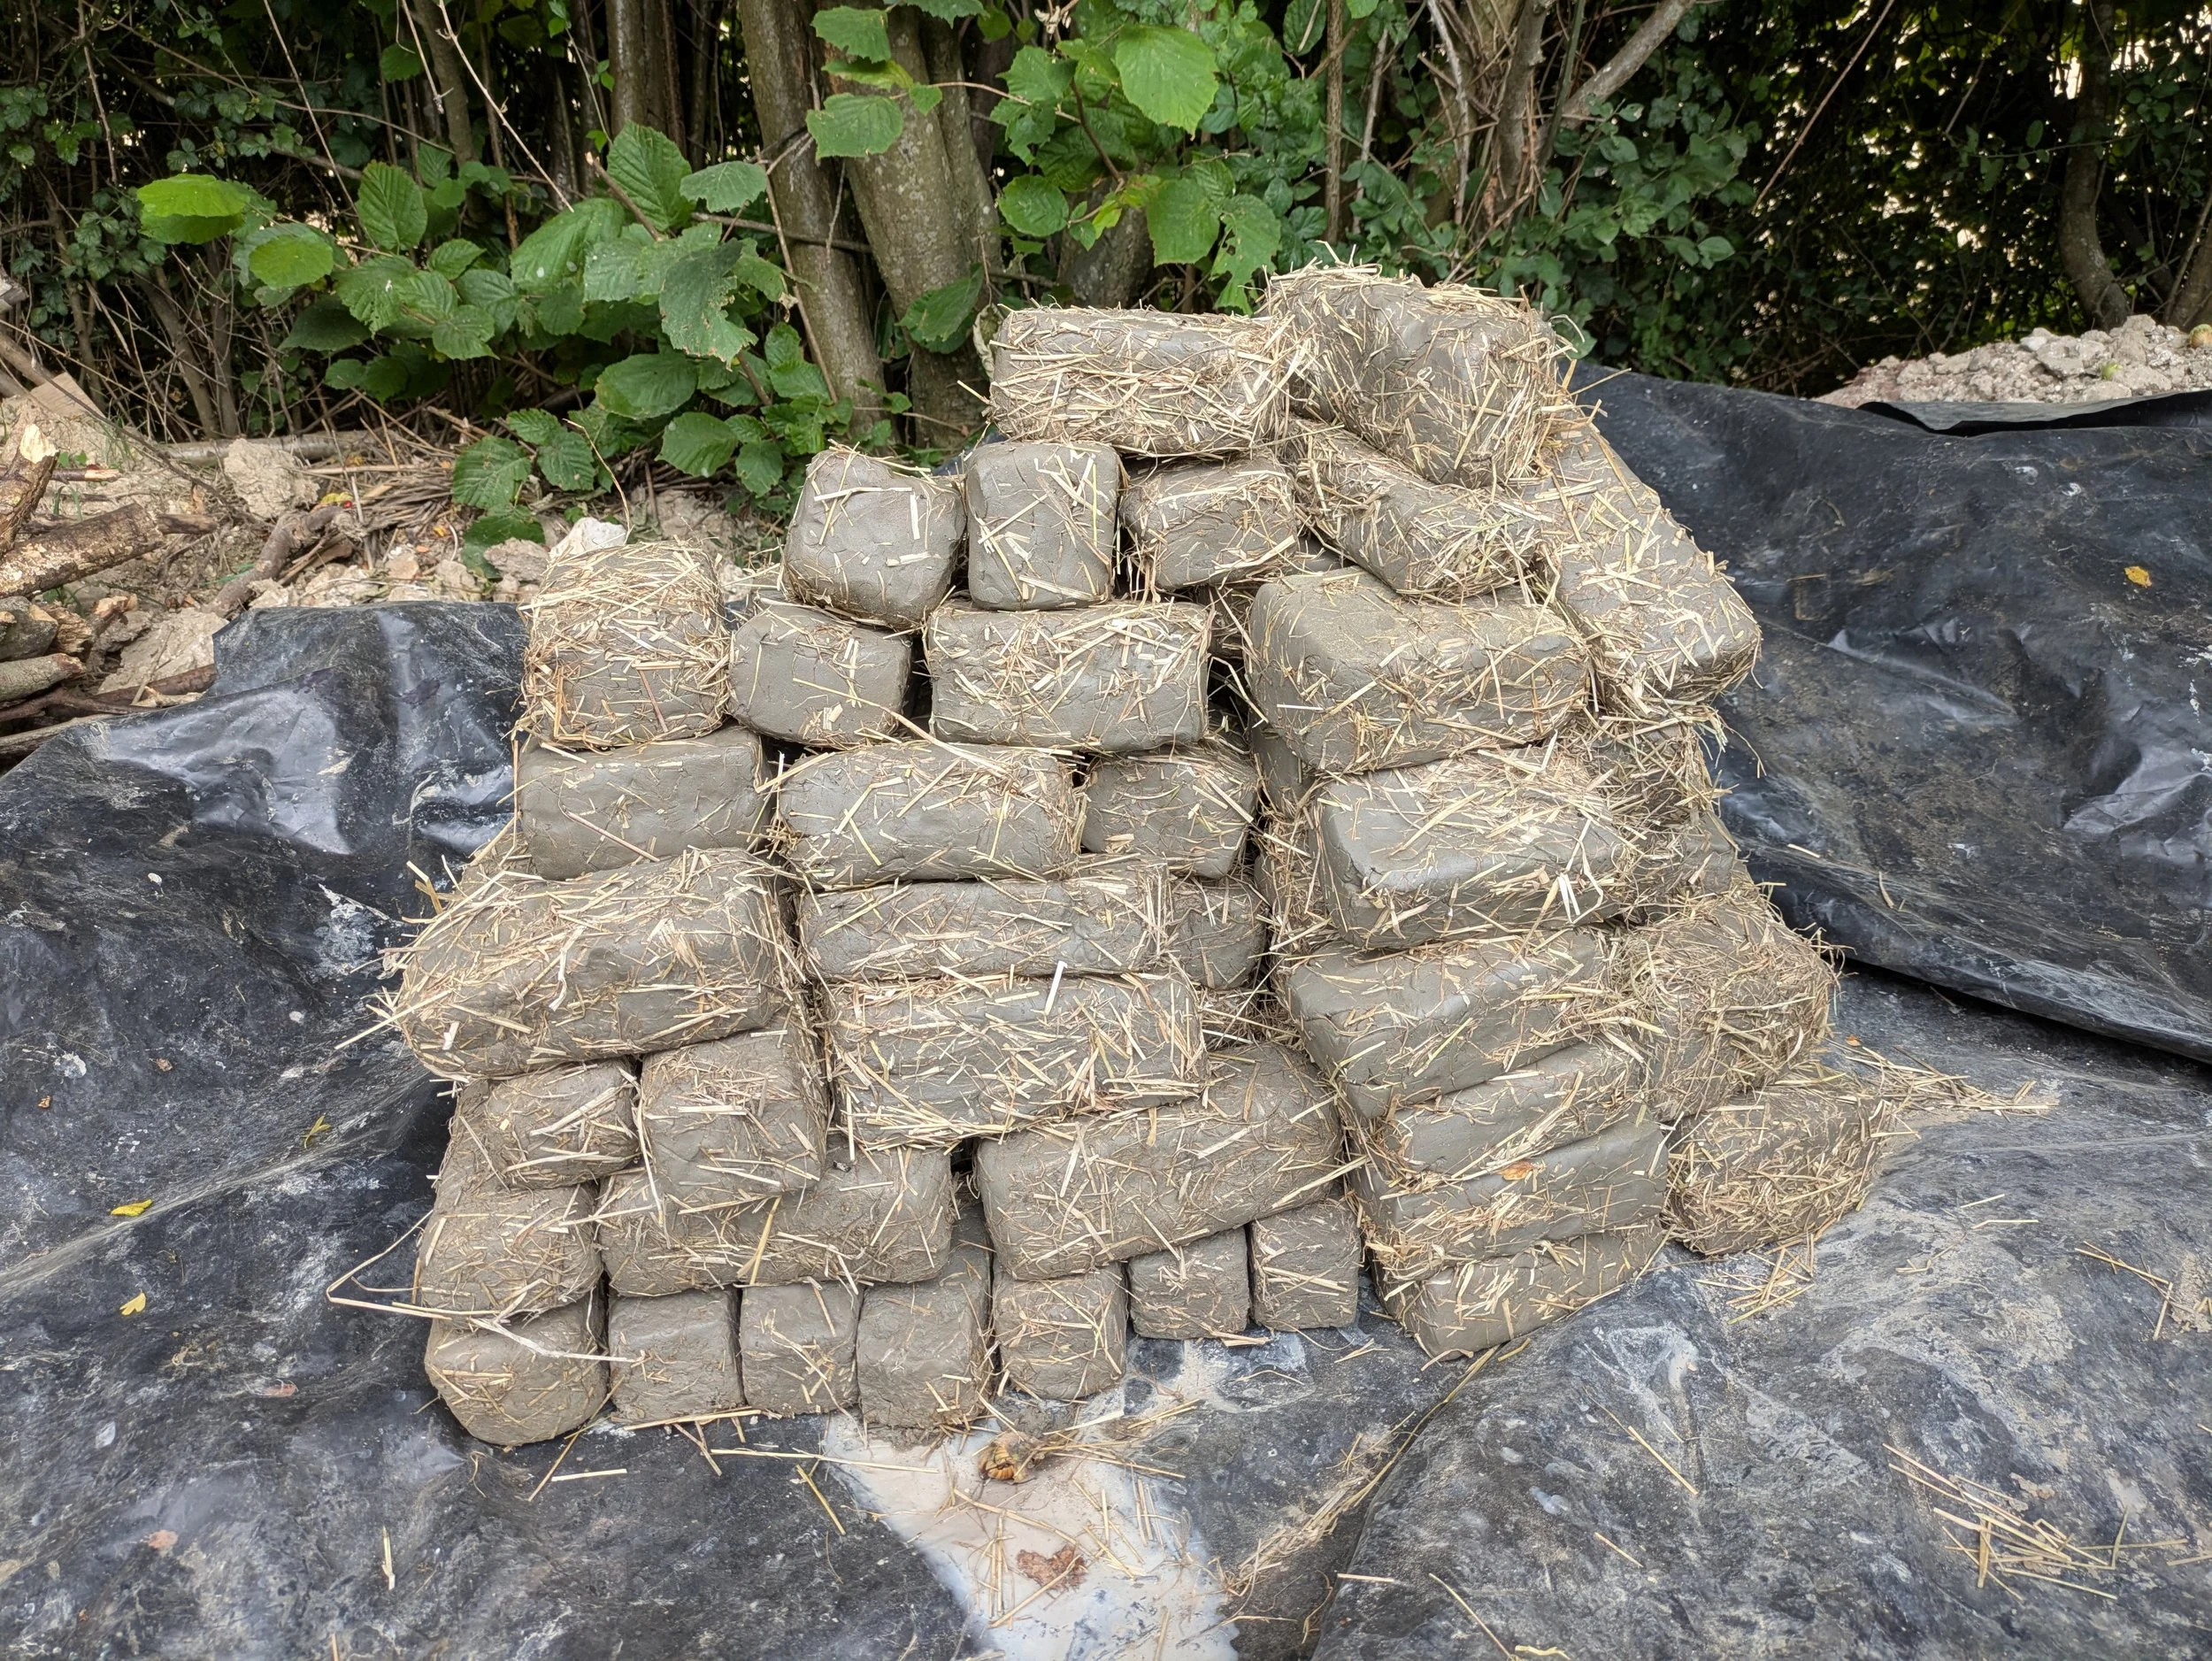
Step 2: Make Daub
Make a lot of daub by mixing clay, grog (crushed ceramic) and chopped hay together.
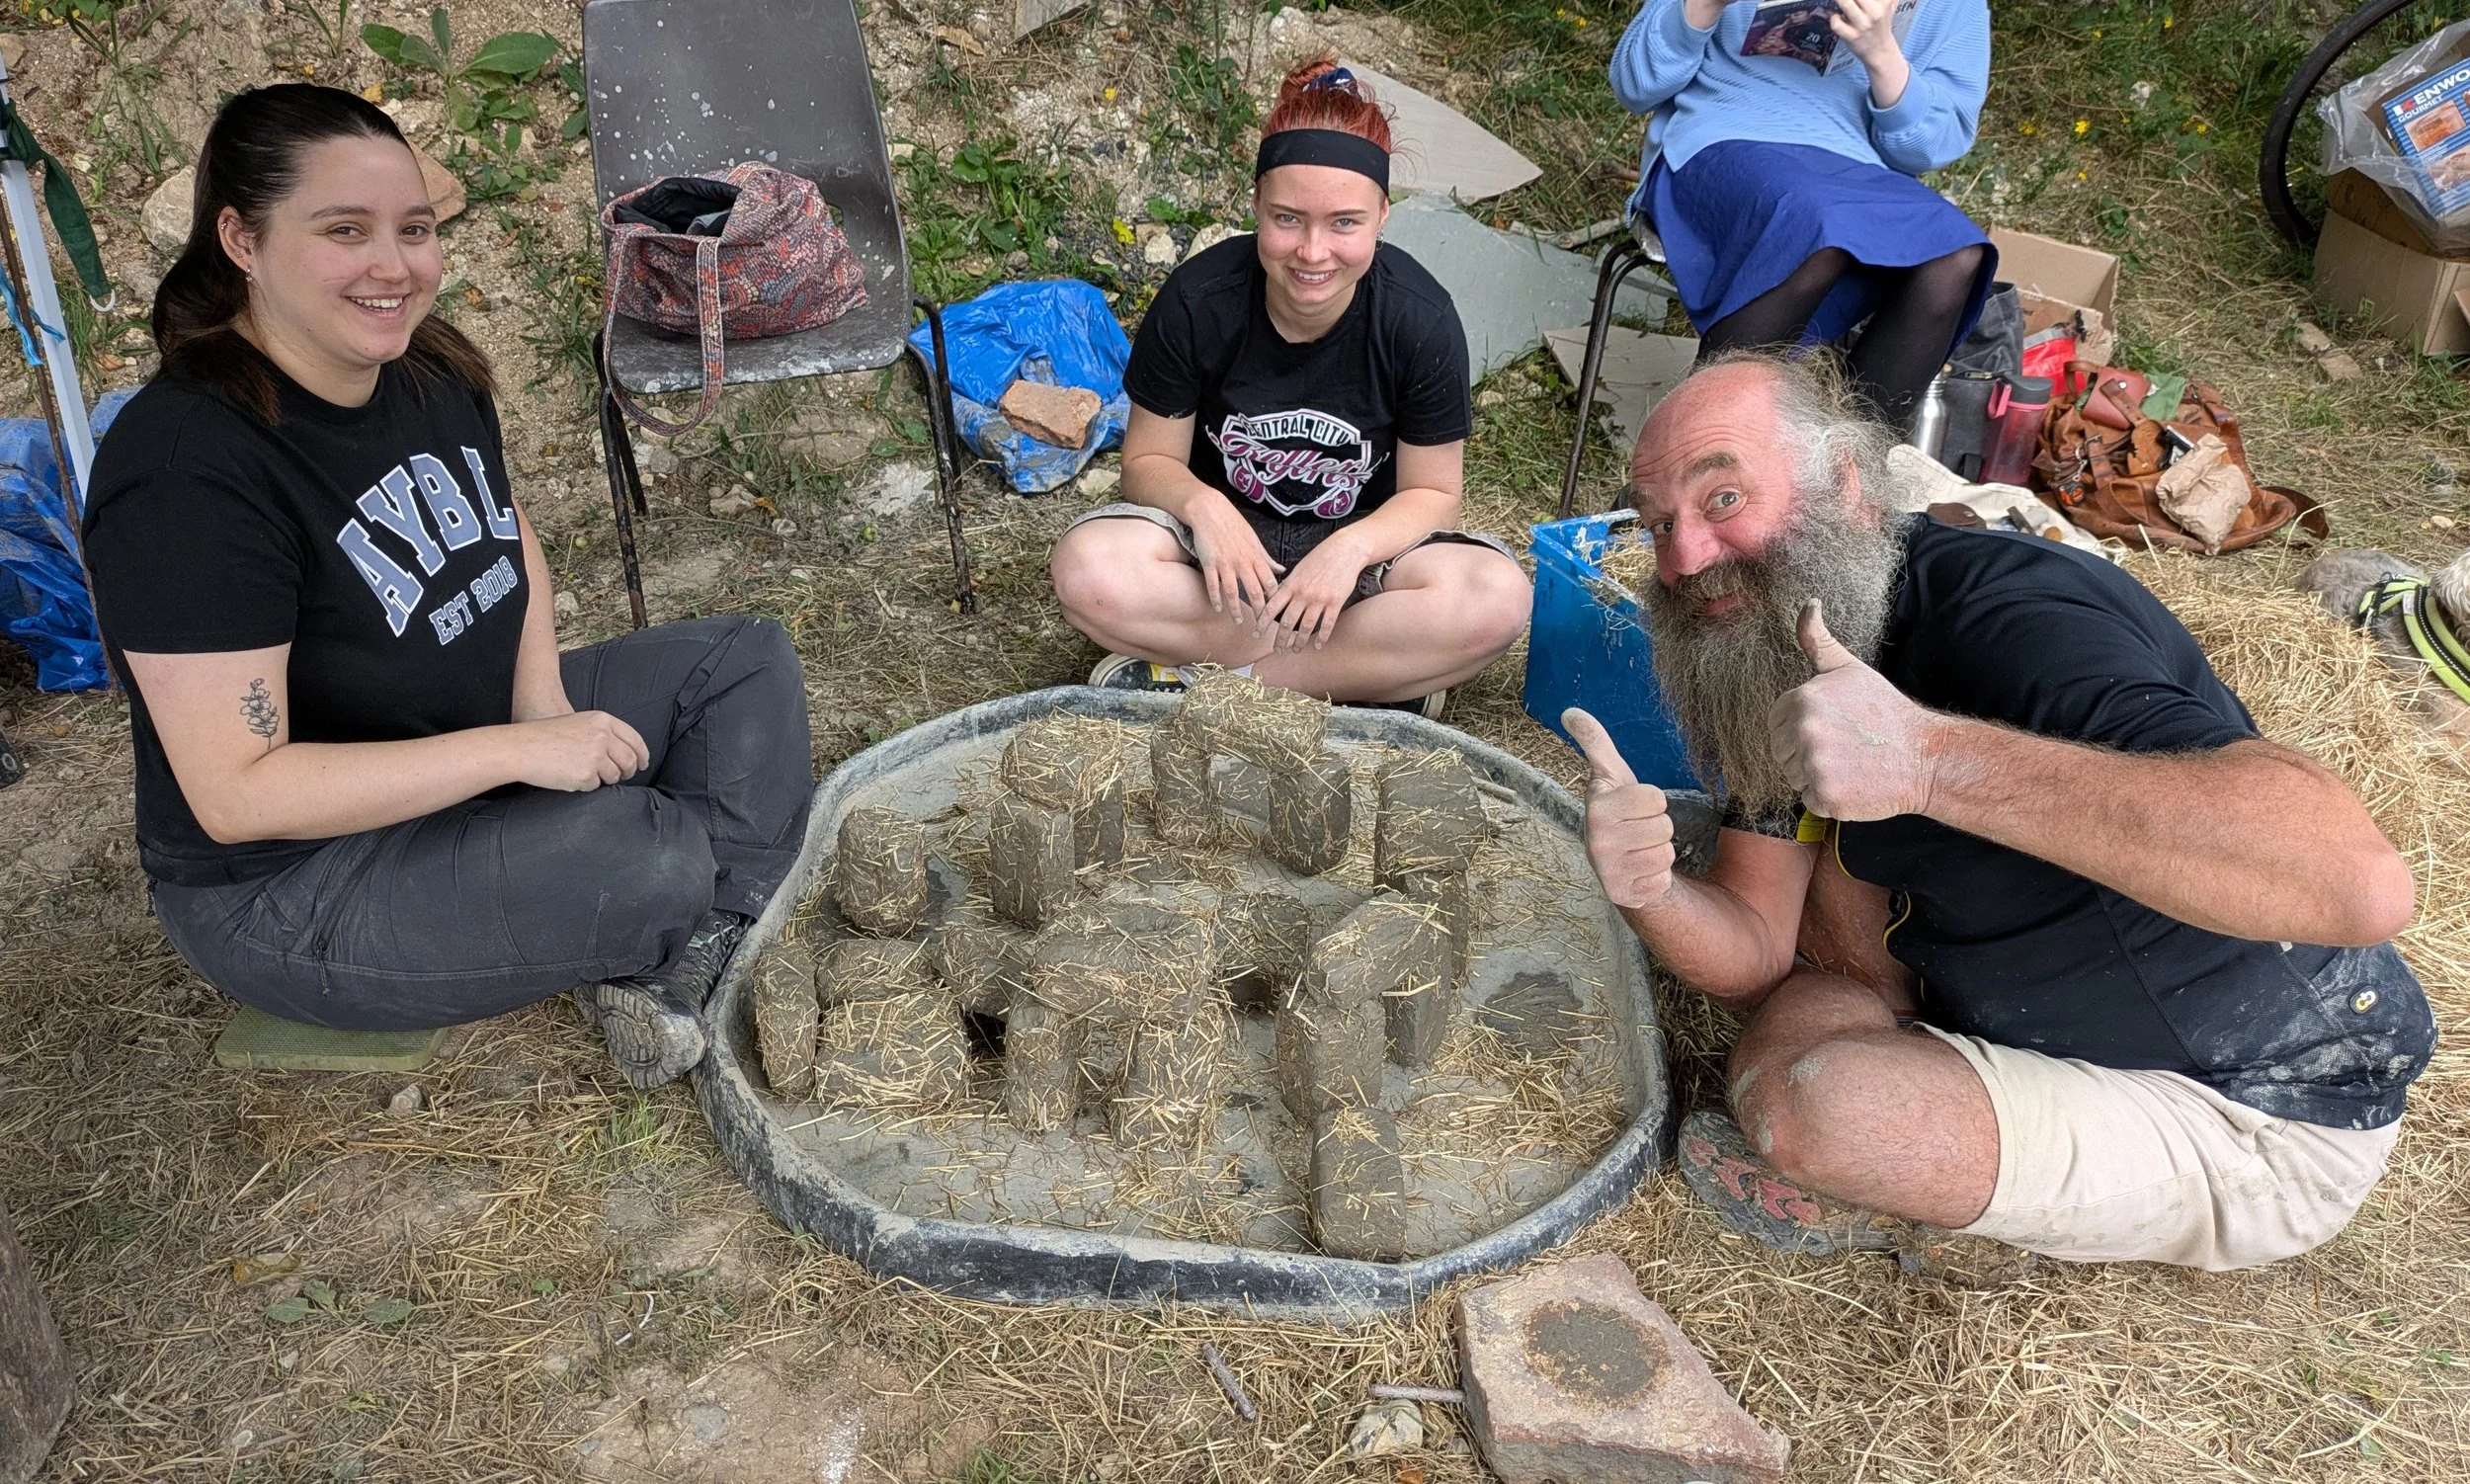
We used pre-grogged clay to save time, but we still had to work in the hay ourselves. Some of the daub was made into a paste, by adding water that could be used to fill in cracks and help glue everything together. Most of it, however, was formed into rough brick shapes that could be stacked and manipulated together as the furnace grew in height. This method also helped reduce drying time and shrinkage and made an excellent brick henge!
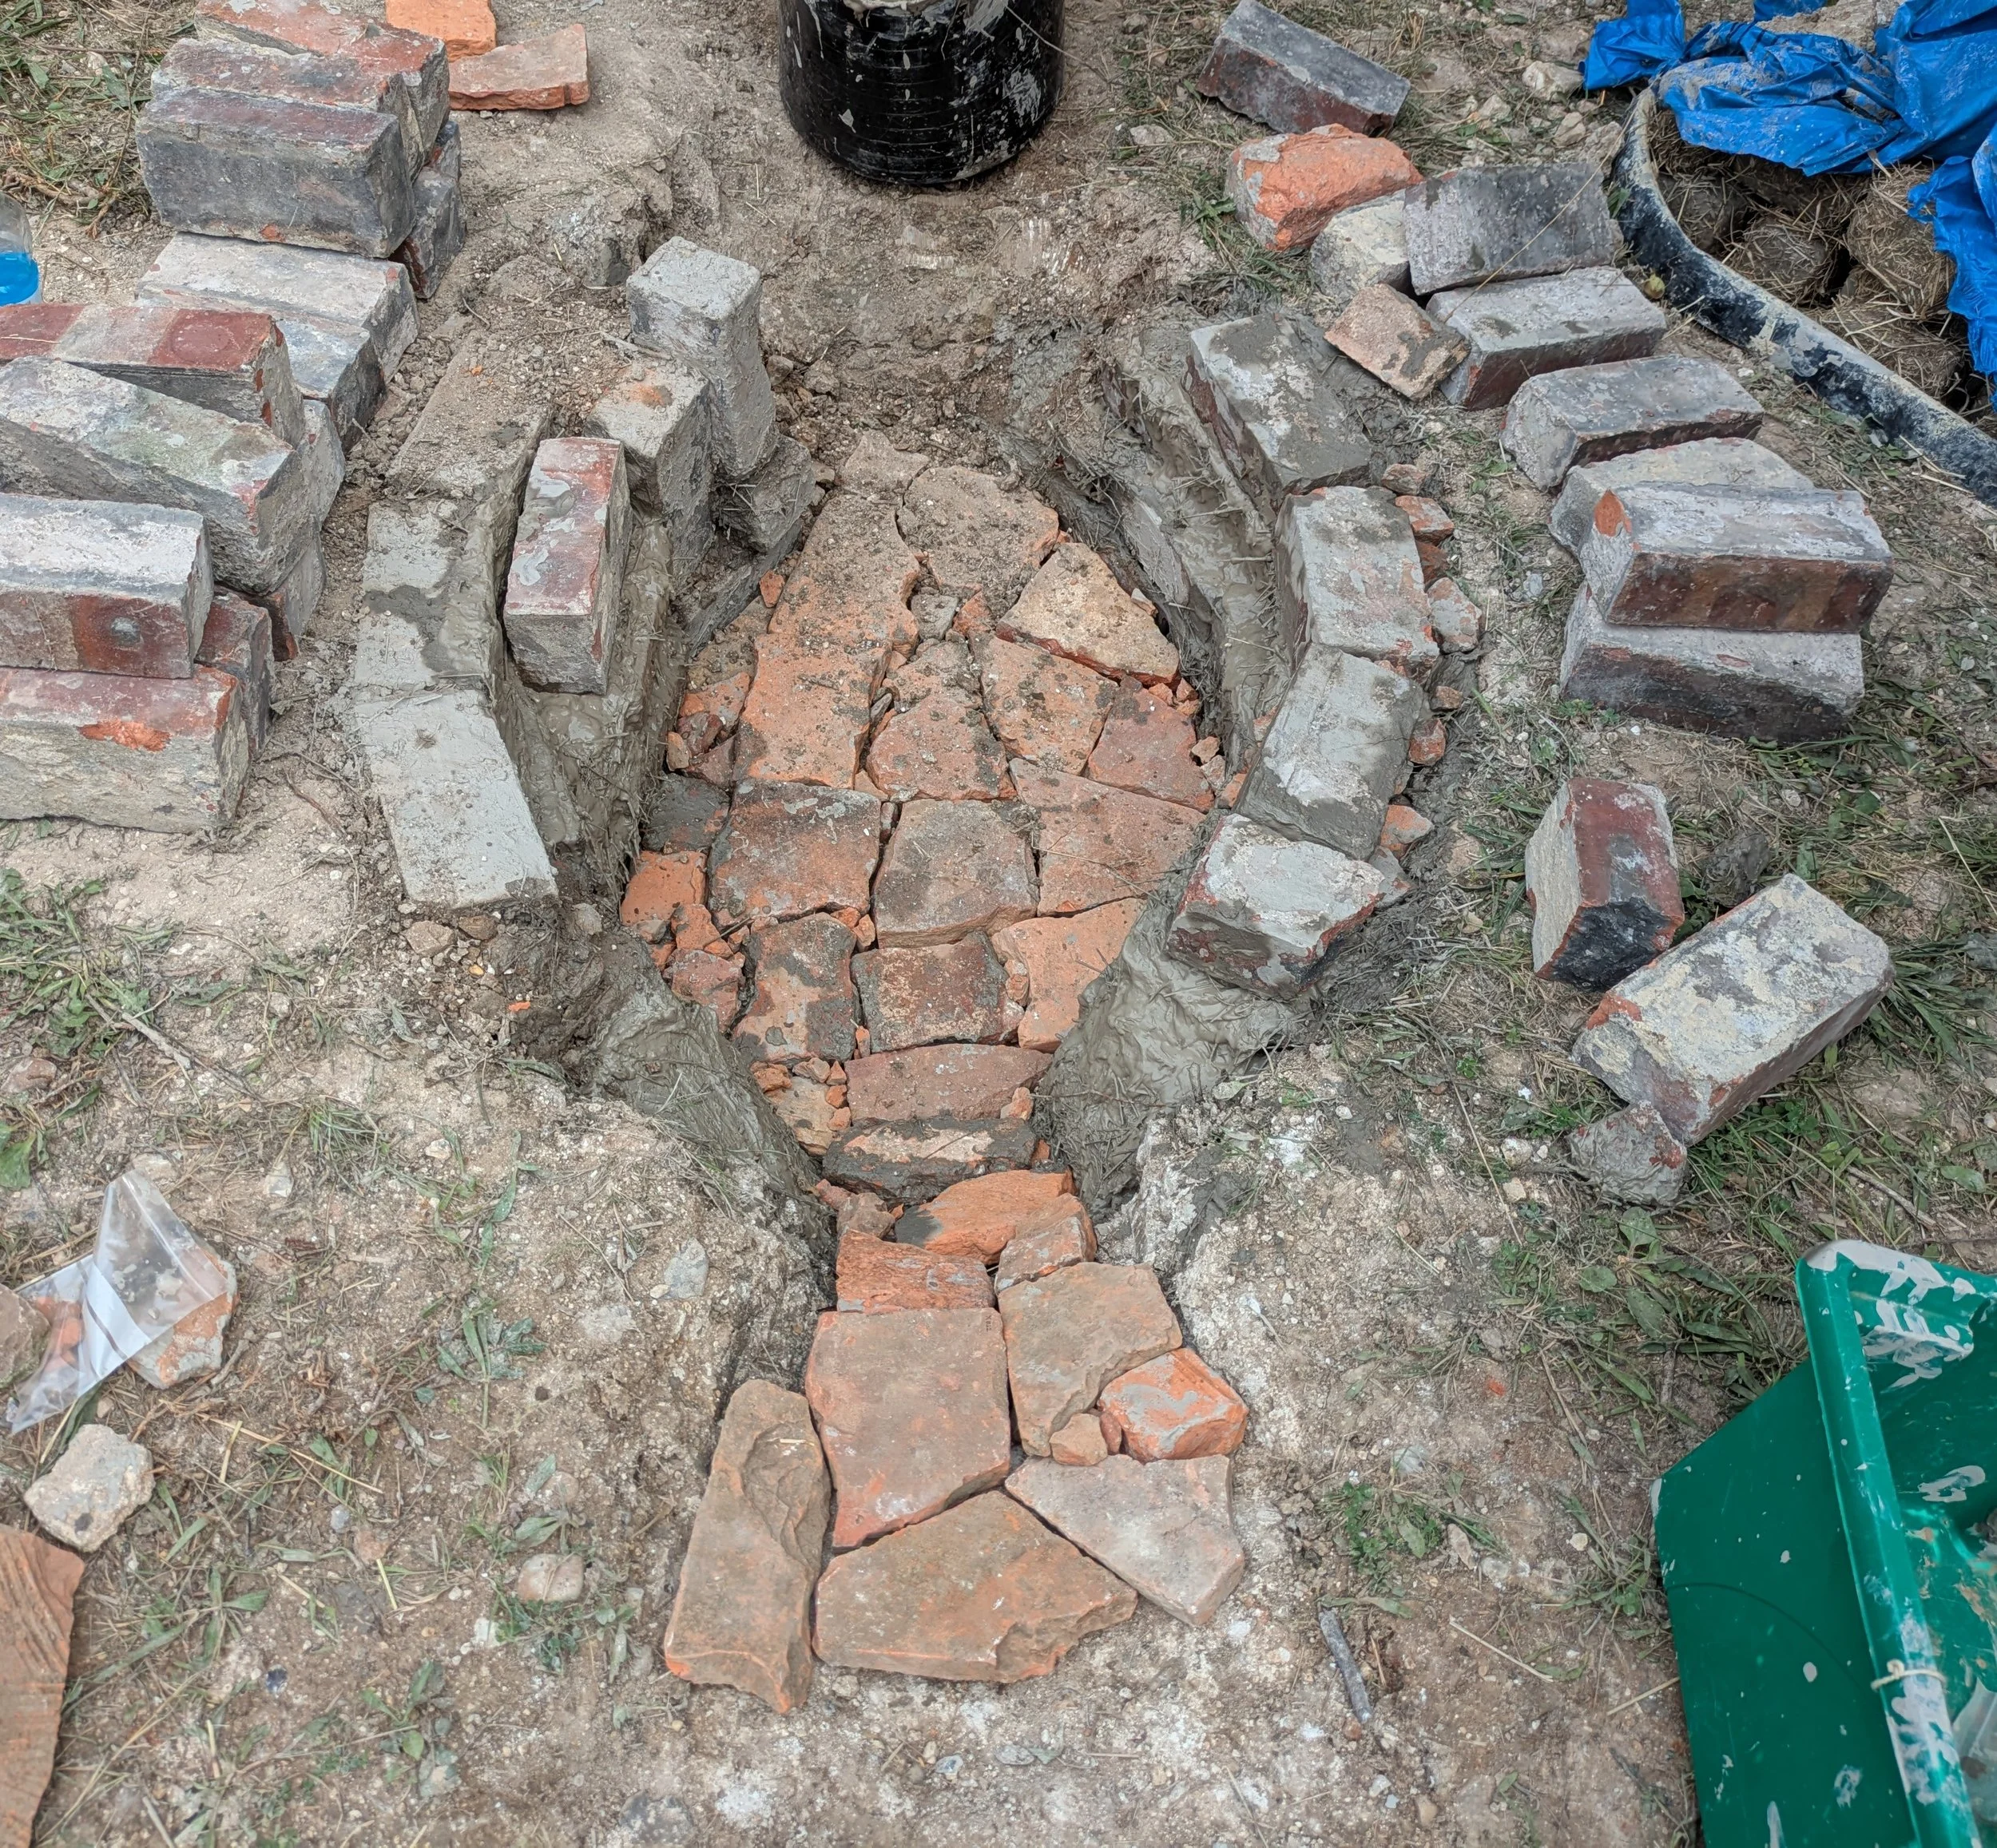
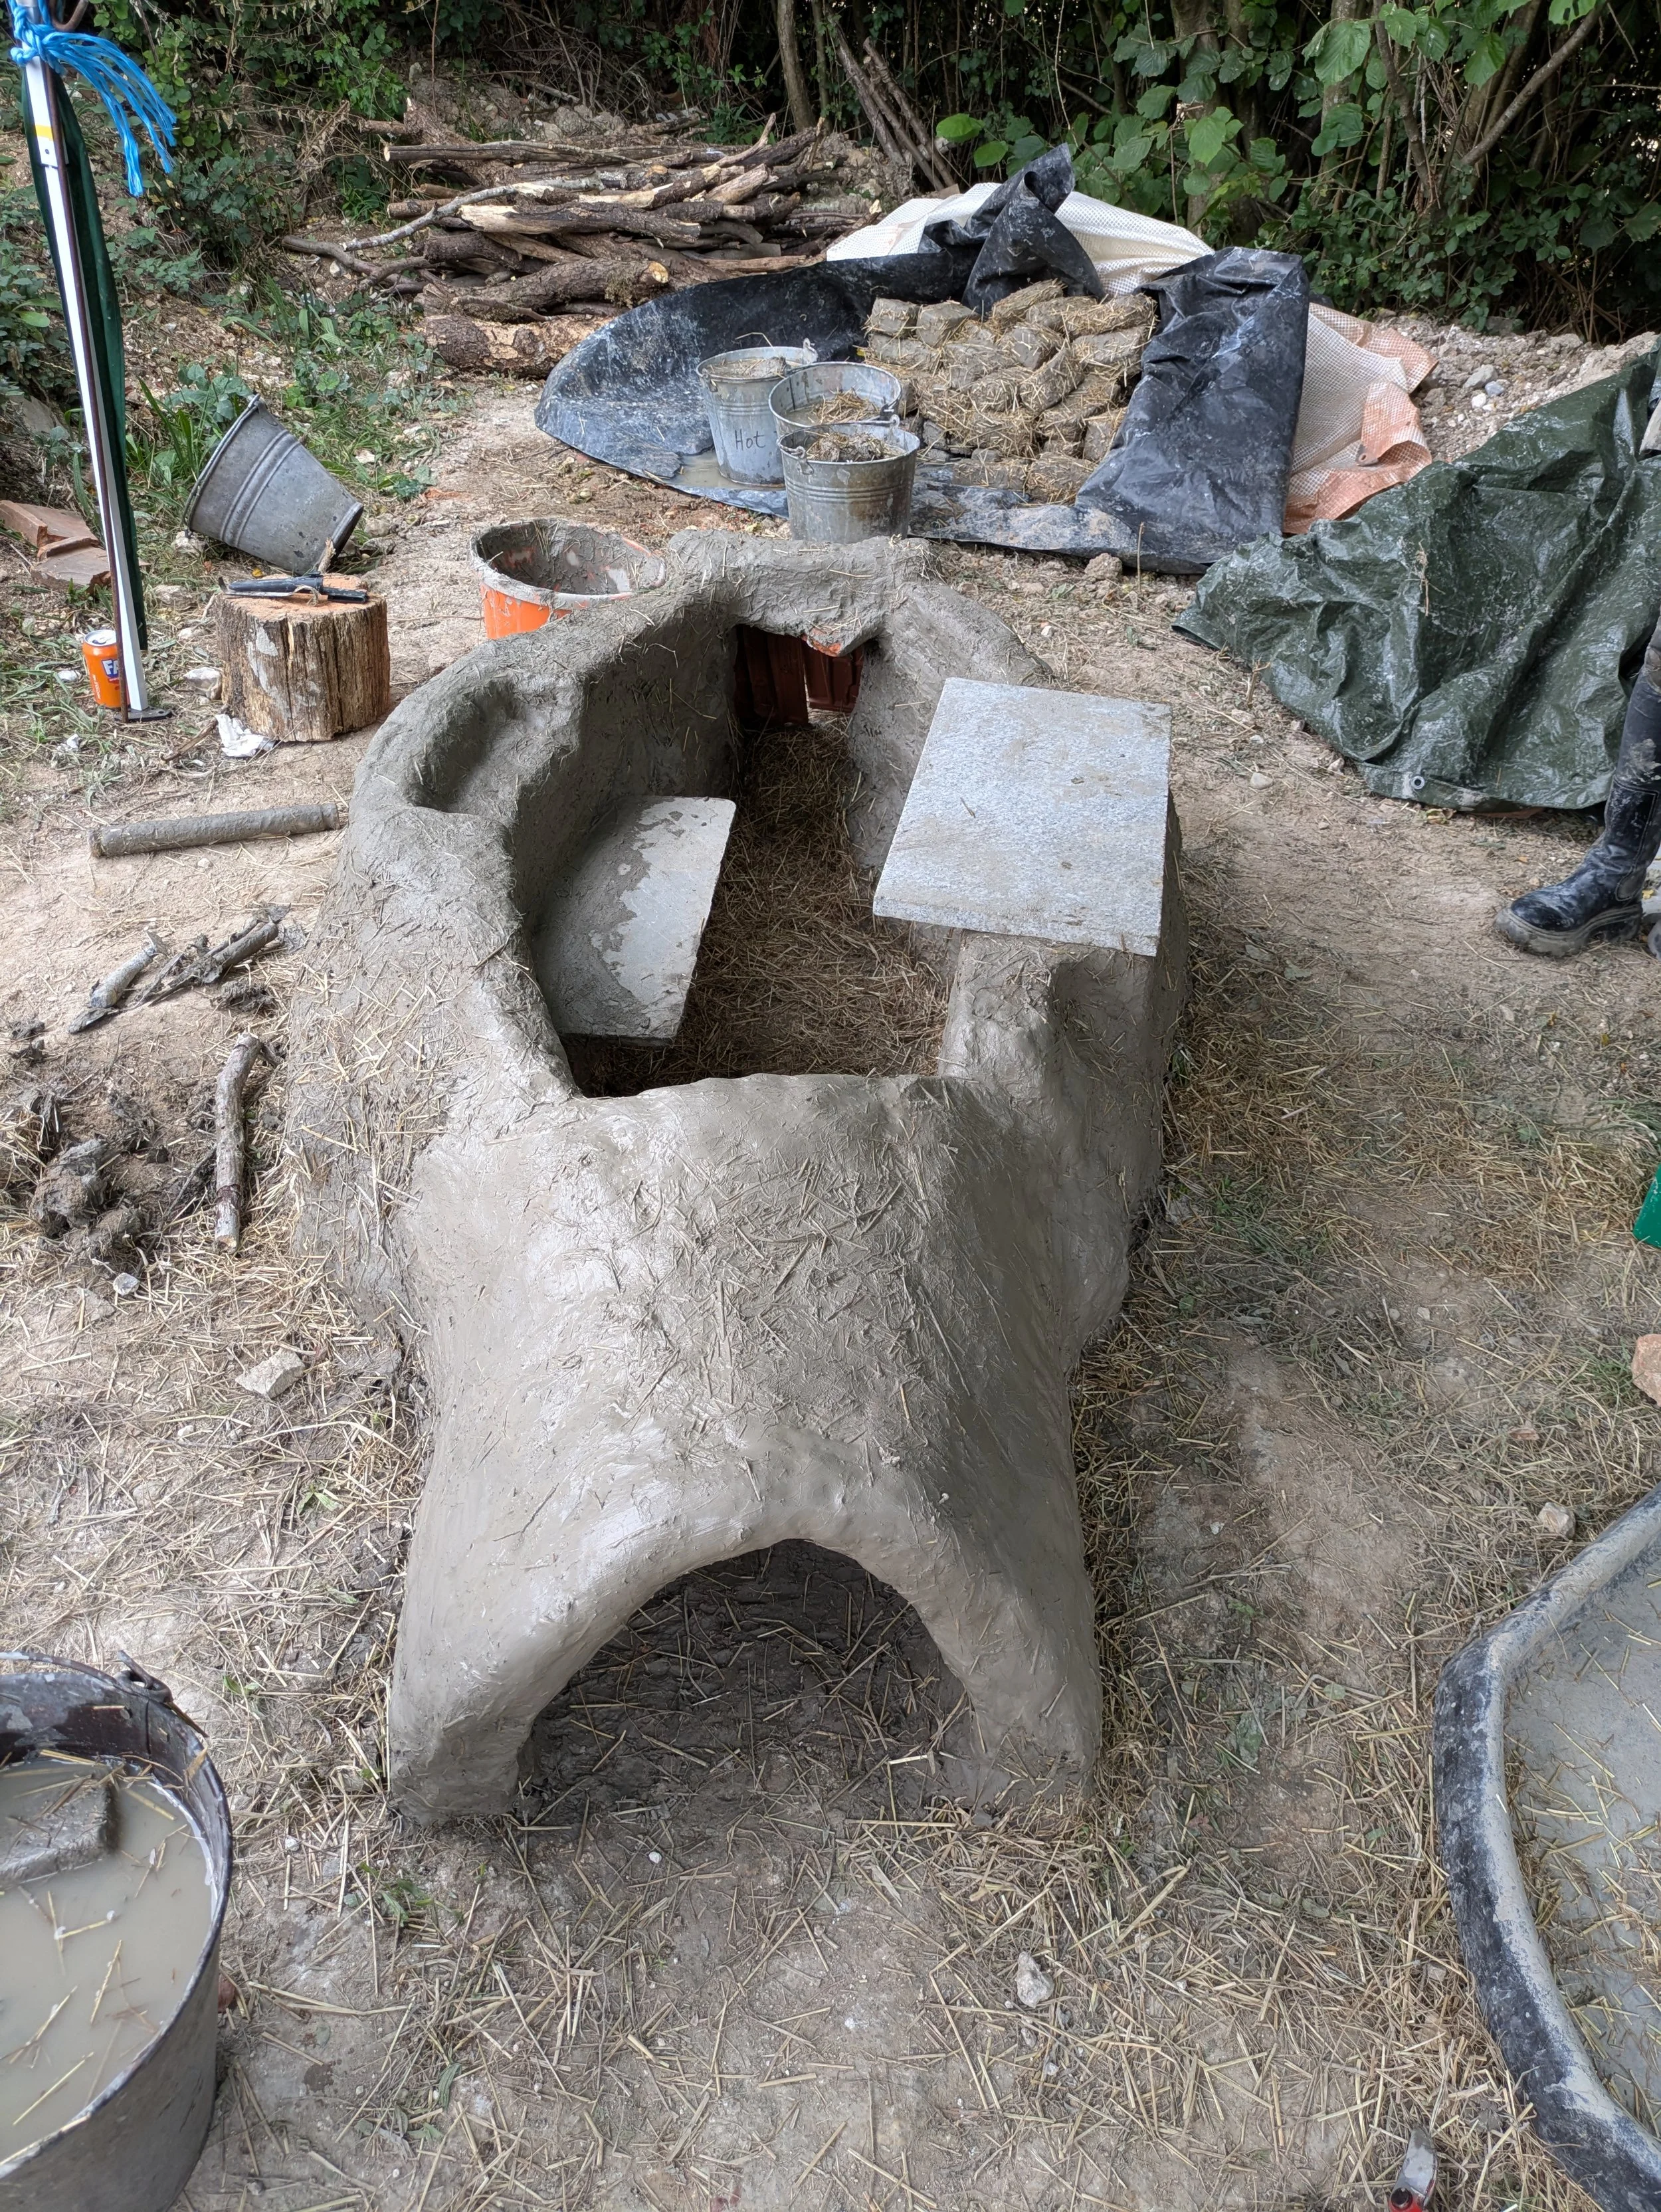
Step 3: Line the Fire Chamber
Line the excavated hole with bricks/daub/CBM (but don’t block up the slopes).
We recycled pre-fired ceramics to form a sturdy base that would need less time to dry and shrink less than daub alone. We used handmade Victorian bricks for the walls and Roman CBM for the floor. As we were on a slight slope, we felt we needed to buttress one side of the furnace, which meant the circular shape became a bit wonky. We learned to embrace the wonk just like the Romans, as most of their examples aren’t perfectly circular either! We filled in the cracks with smaller chunks of CBM and the daub paste we made earlier.
Step 4: Build the Walls
Add bricks (pre-fired or daub) to the walls to increase the height, until you reach the level you would like your shelves to sit at.
We added 3 courses of bricks above ground level to get to our required shelf height.

Step 5: Add Shelves
Add shelves to the walls. These will be used to hold crucibles of molten glass inside the fire chamber and tools/furniture on the outside.
We are trialling using several types of stone slabs as shelves, as we already know from other experiments that daub and CBM shelves work. We pre-tested our stone in a smaller fire first to rule out any immediate issues if faced with heat, but it may be a different story when faced with the higher temperatures we will be working glass at. We hope we have placed the shelves in such a way that they can be repaired or replaced if needed further down the line. One of our stone shelves was built into the inside of the fire chamber and had a Roman CBM shelf on the outside of it. The other stone shelf sat across the width of the wall to act as a shelf both inside and outside of the chamber.
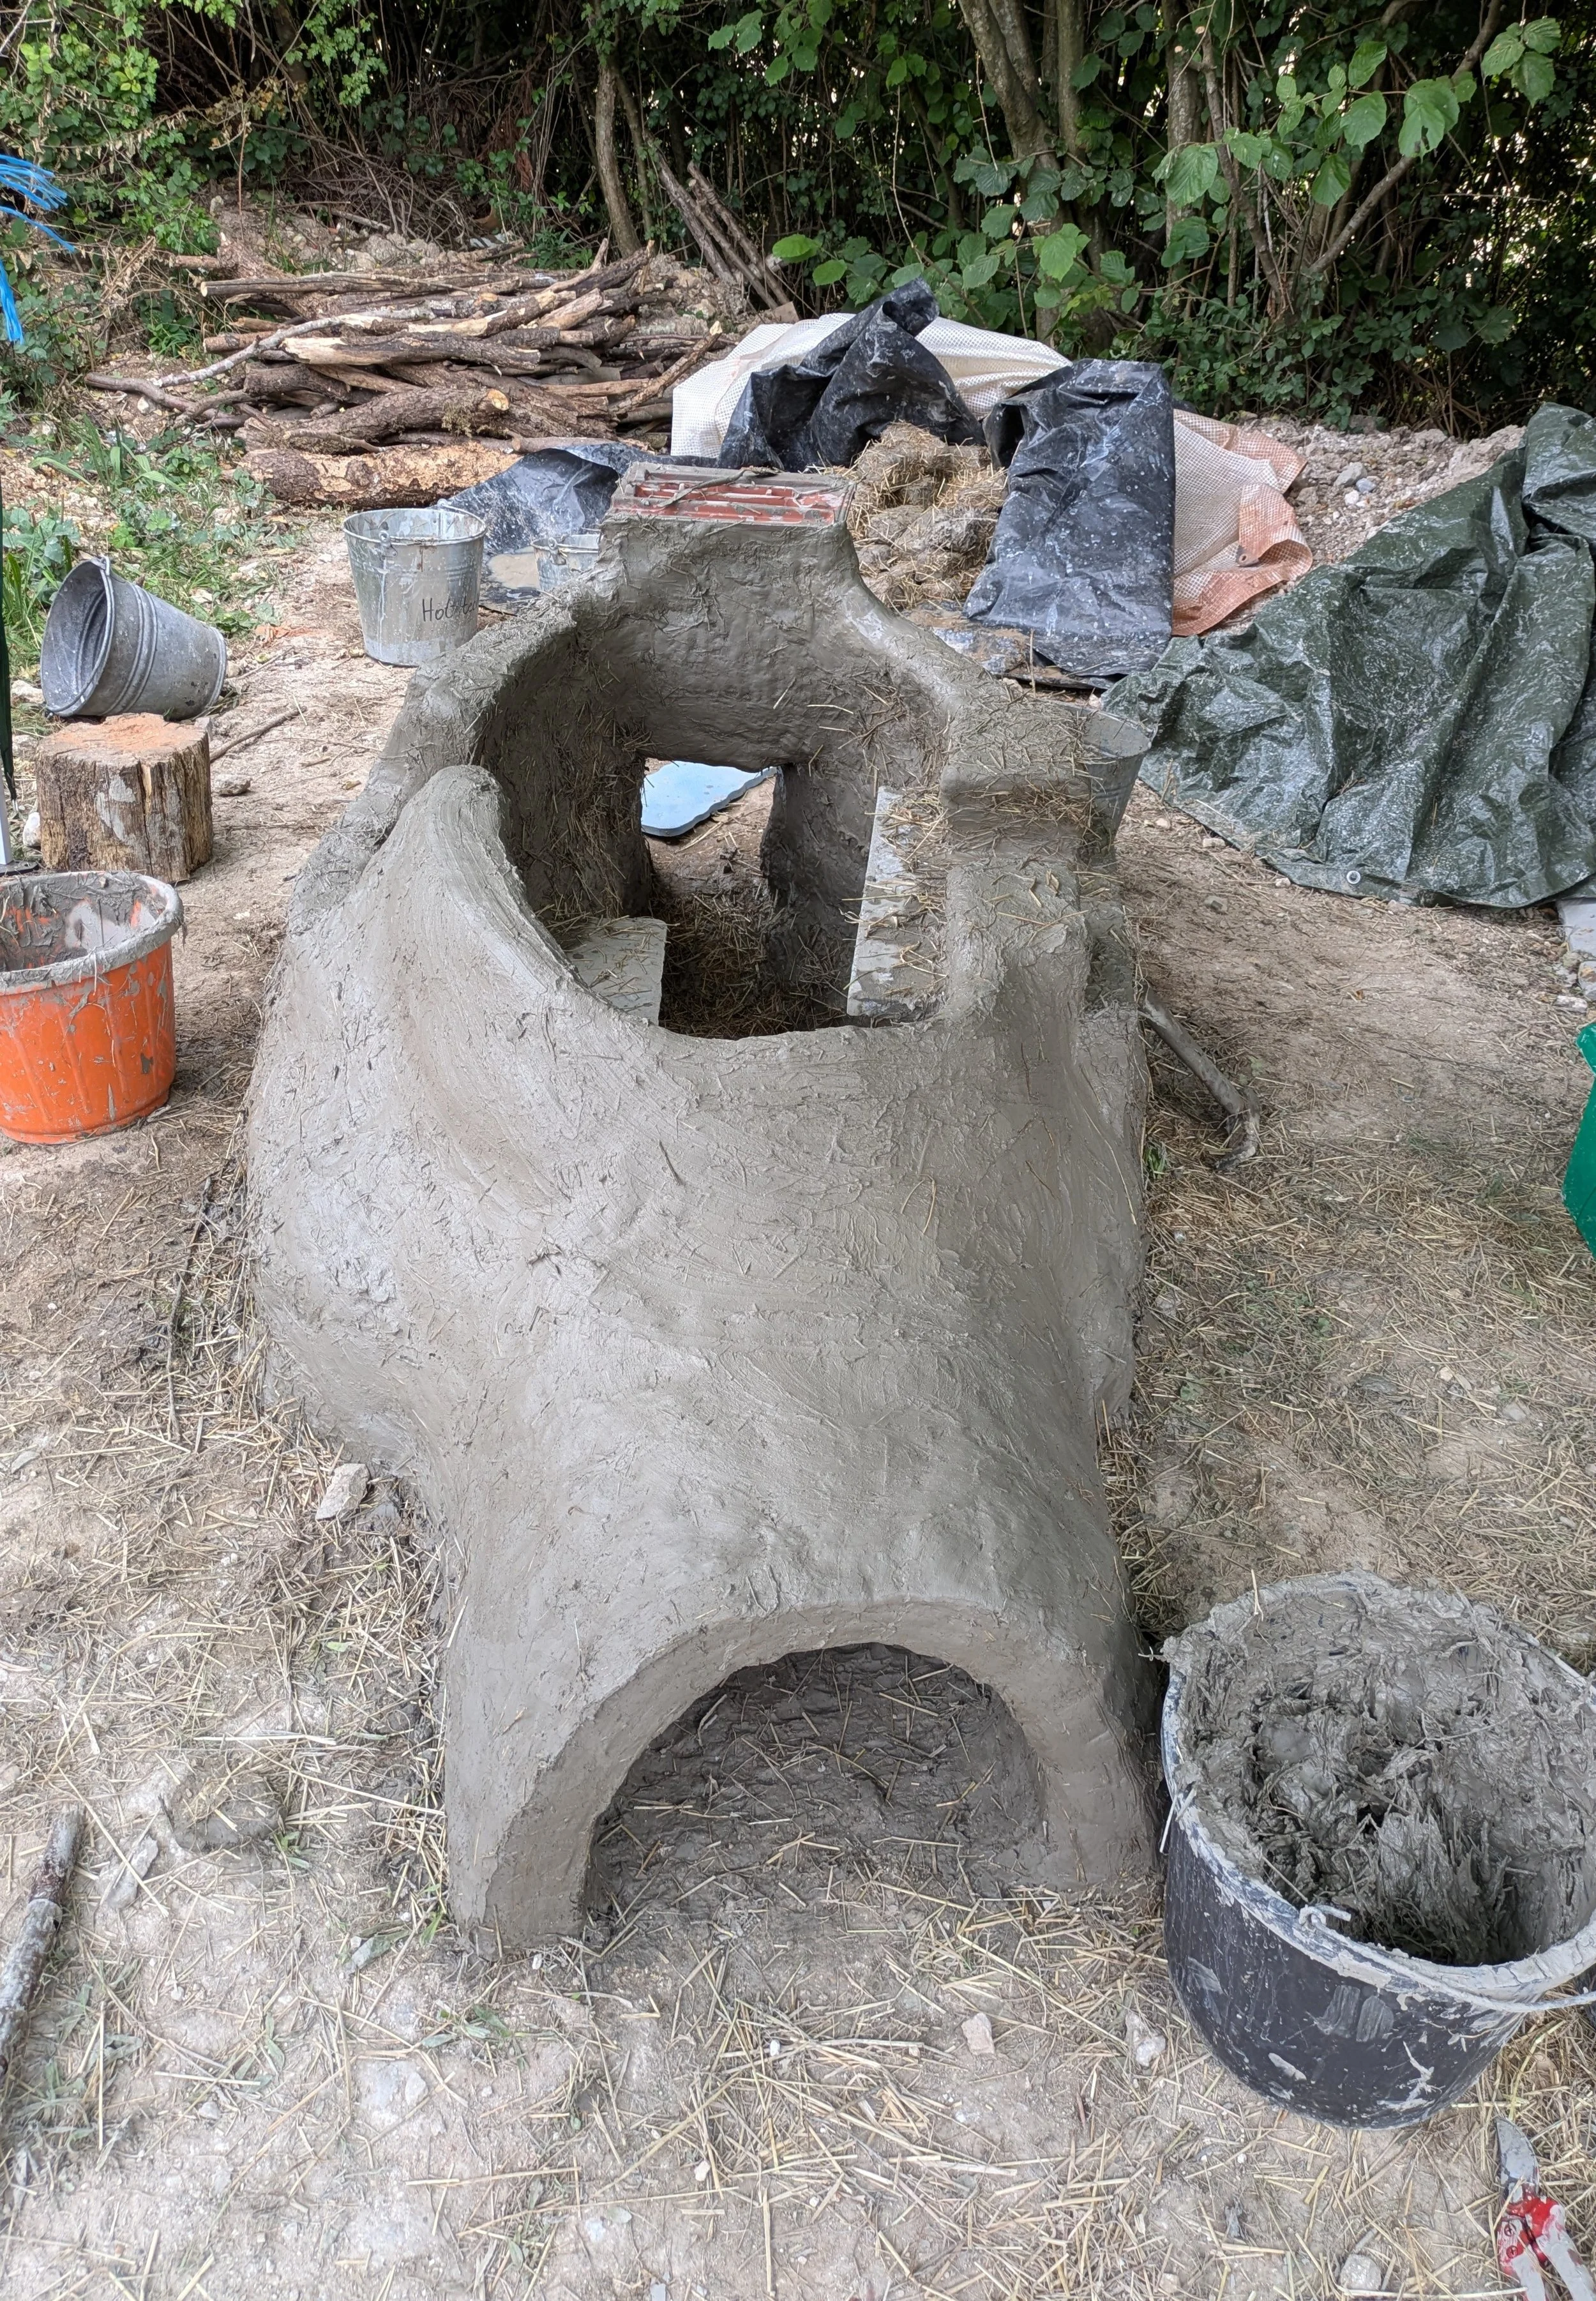
Step 6: Bring in the Walls
Slowly start to corbel in the walls to create a dome over the fire chamber and stoke hole.
We found that doing it slowly over several days allowed the daub to dry a little in place, which helped it to support its own weight. We also inserted some wattling to create the domed shape and support the daub whilst it dried.
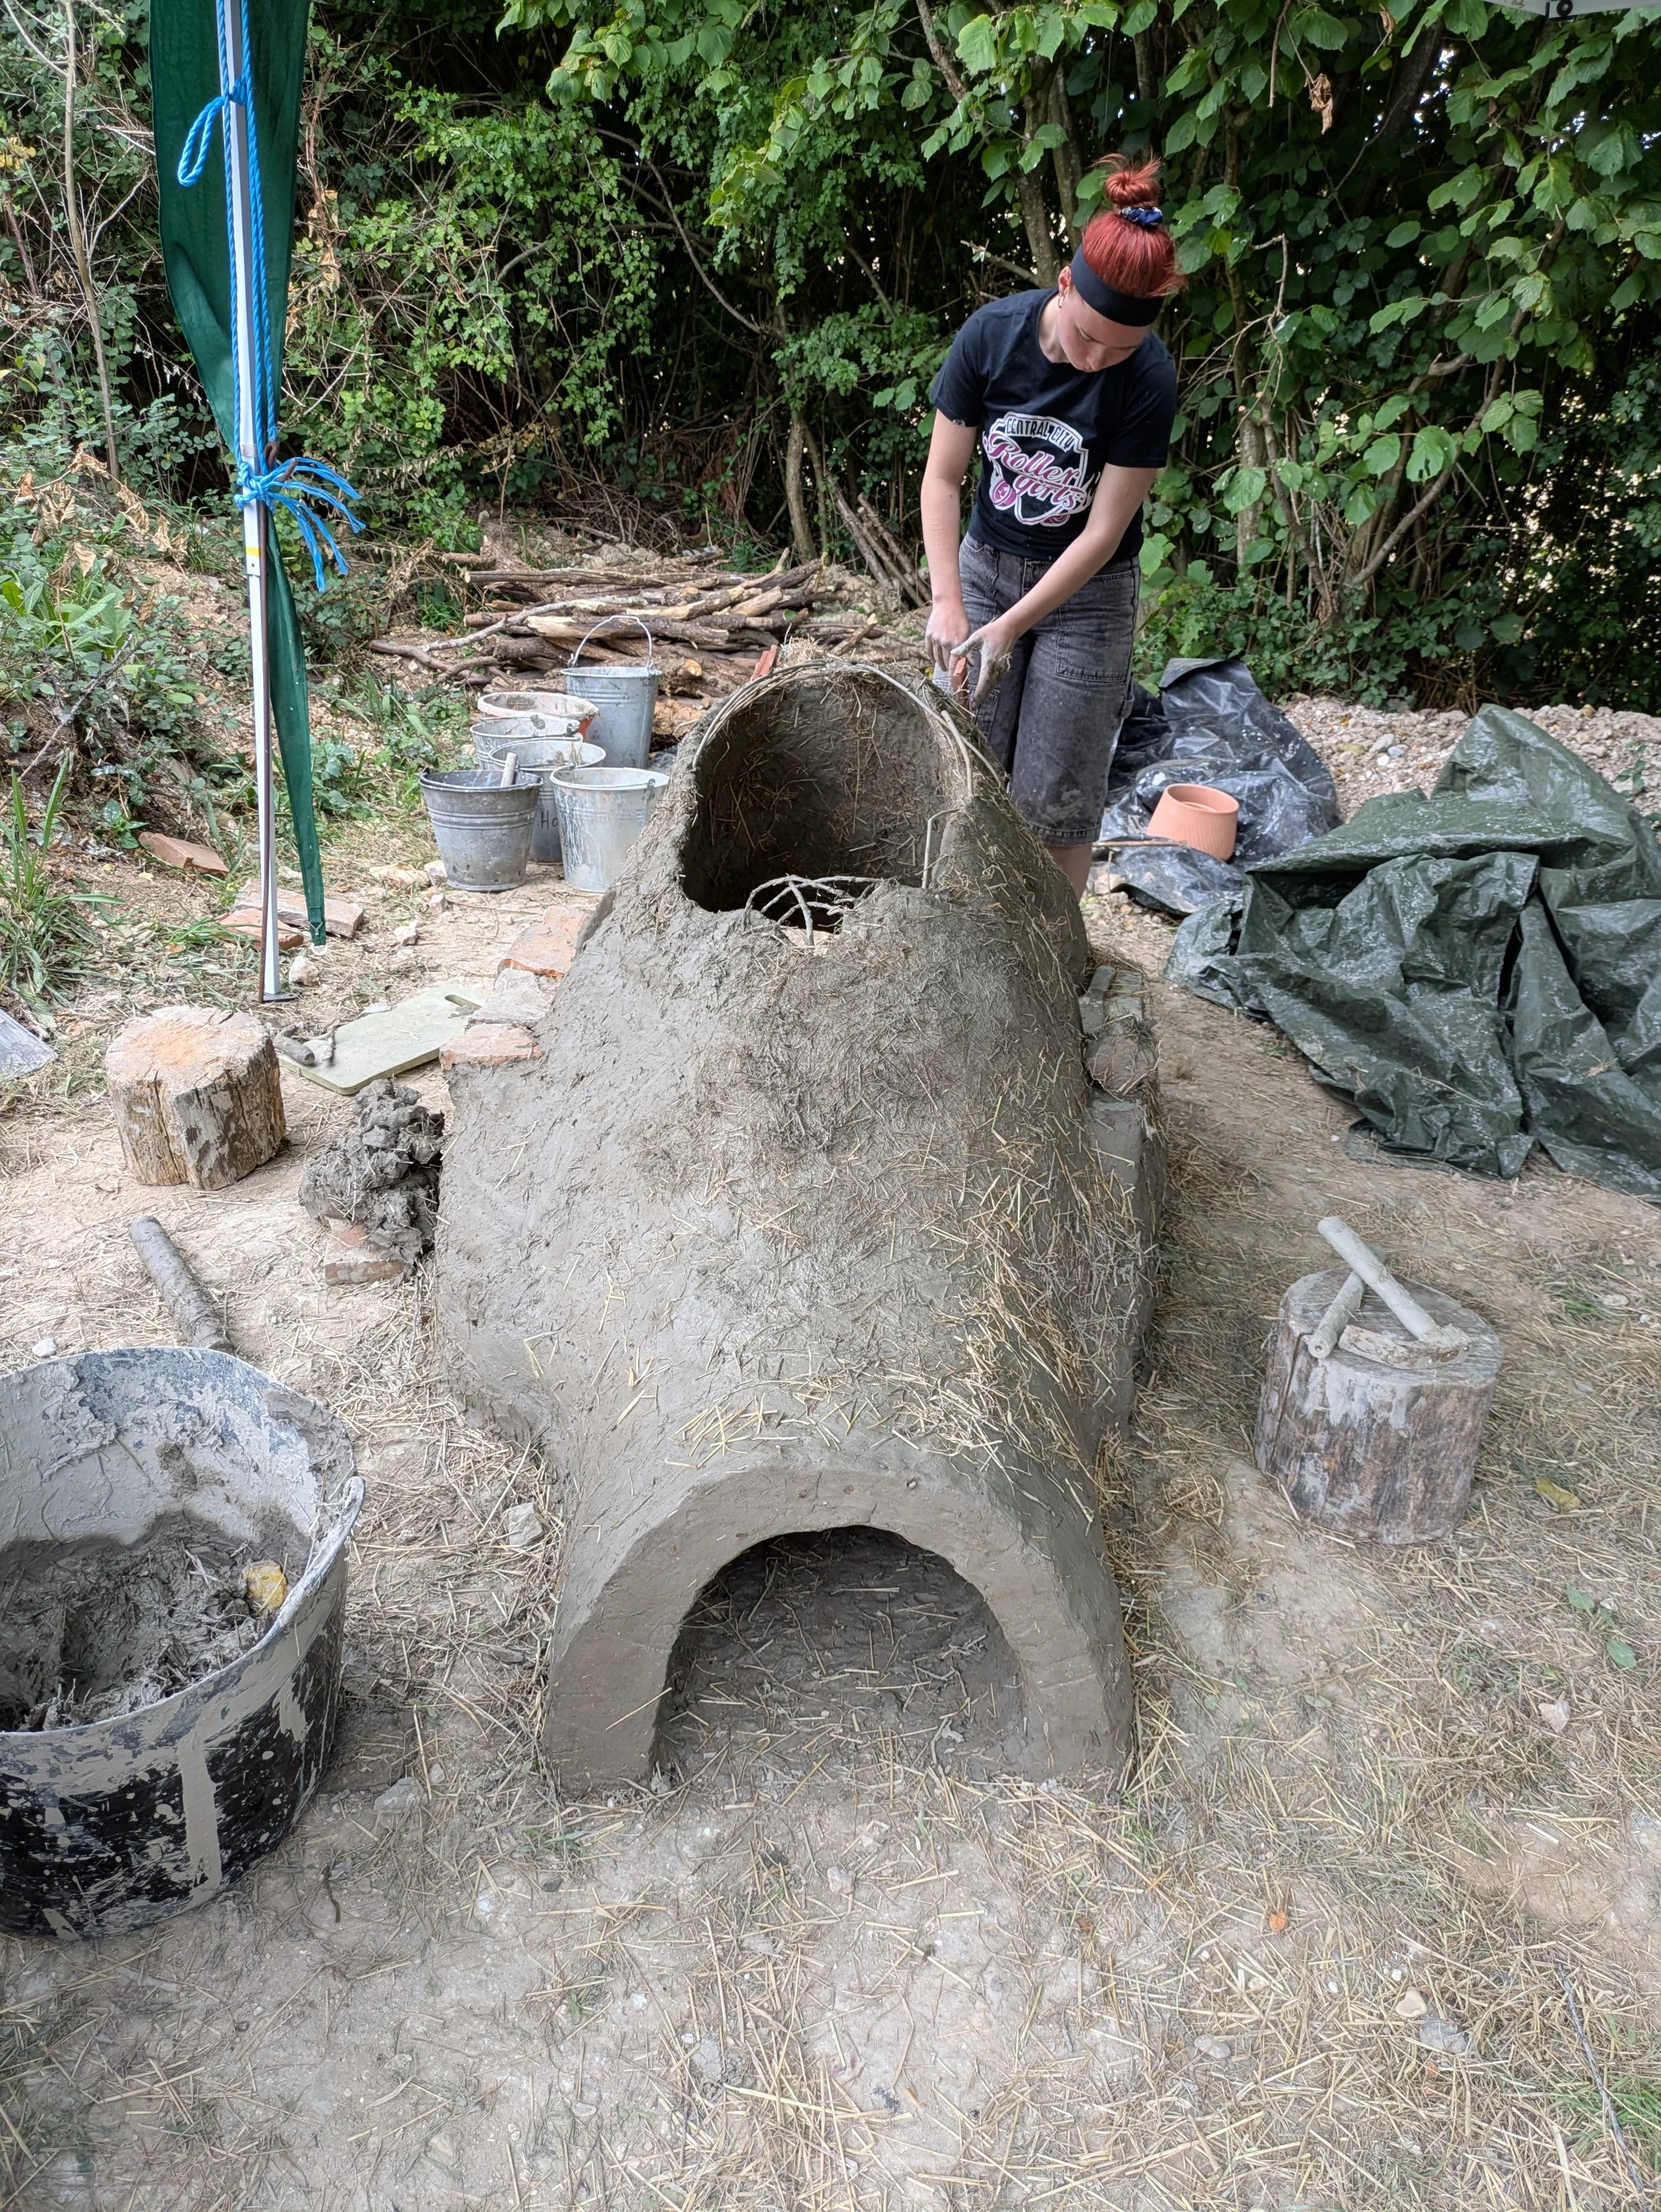
Step 7: Details, Details
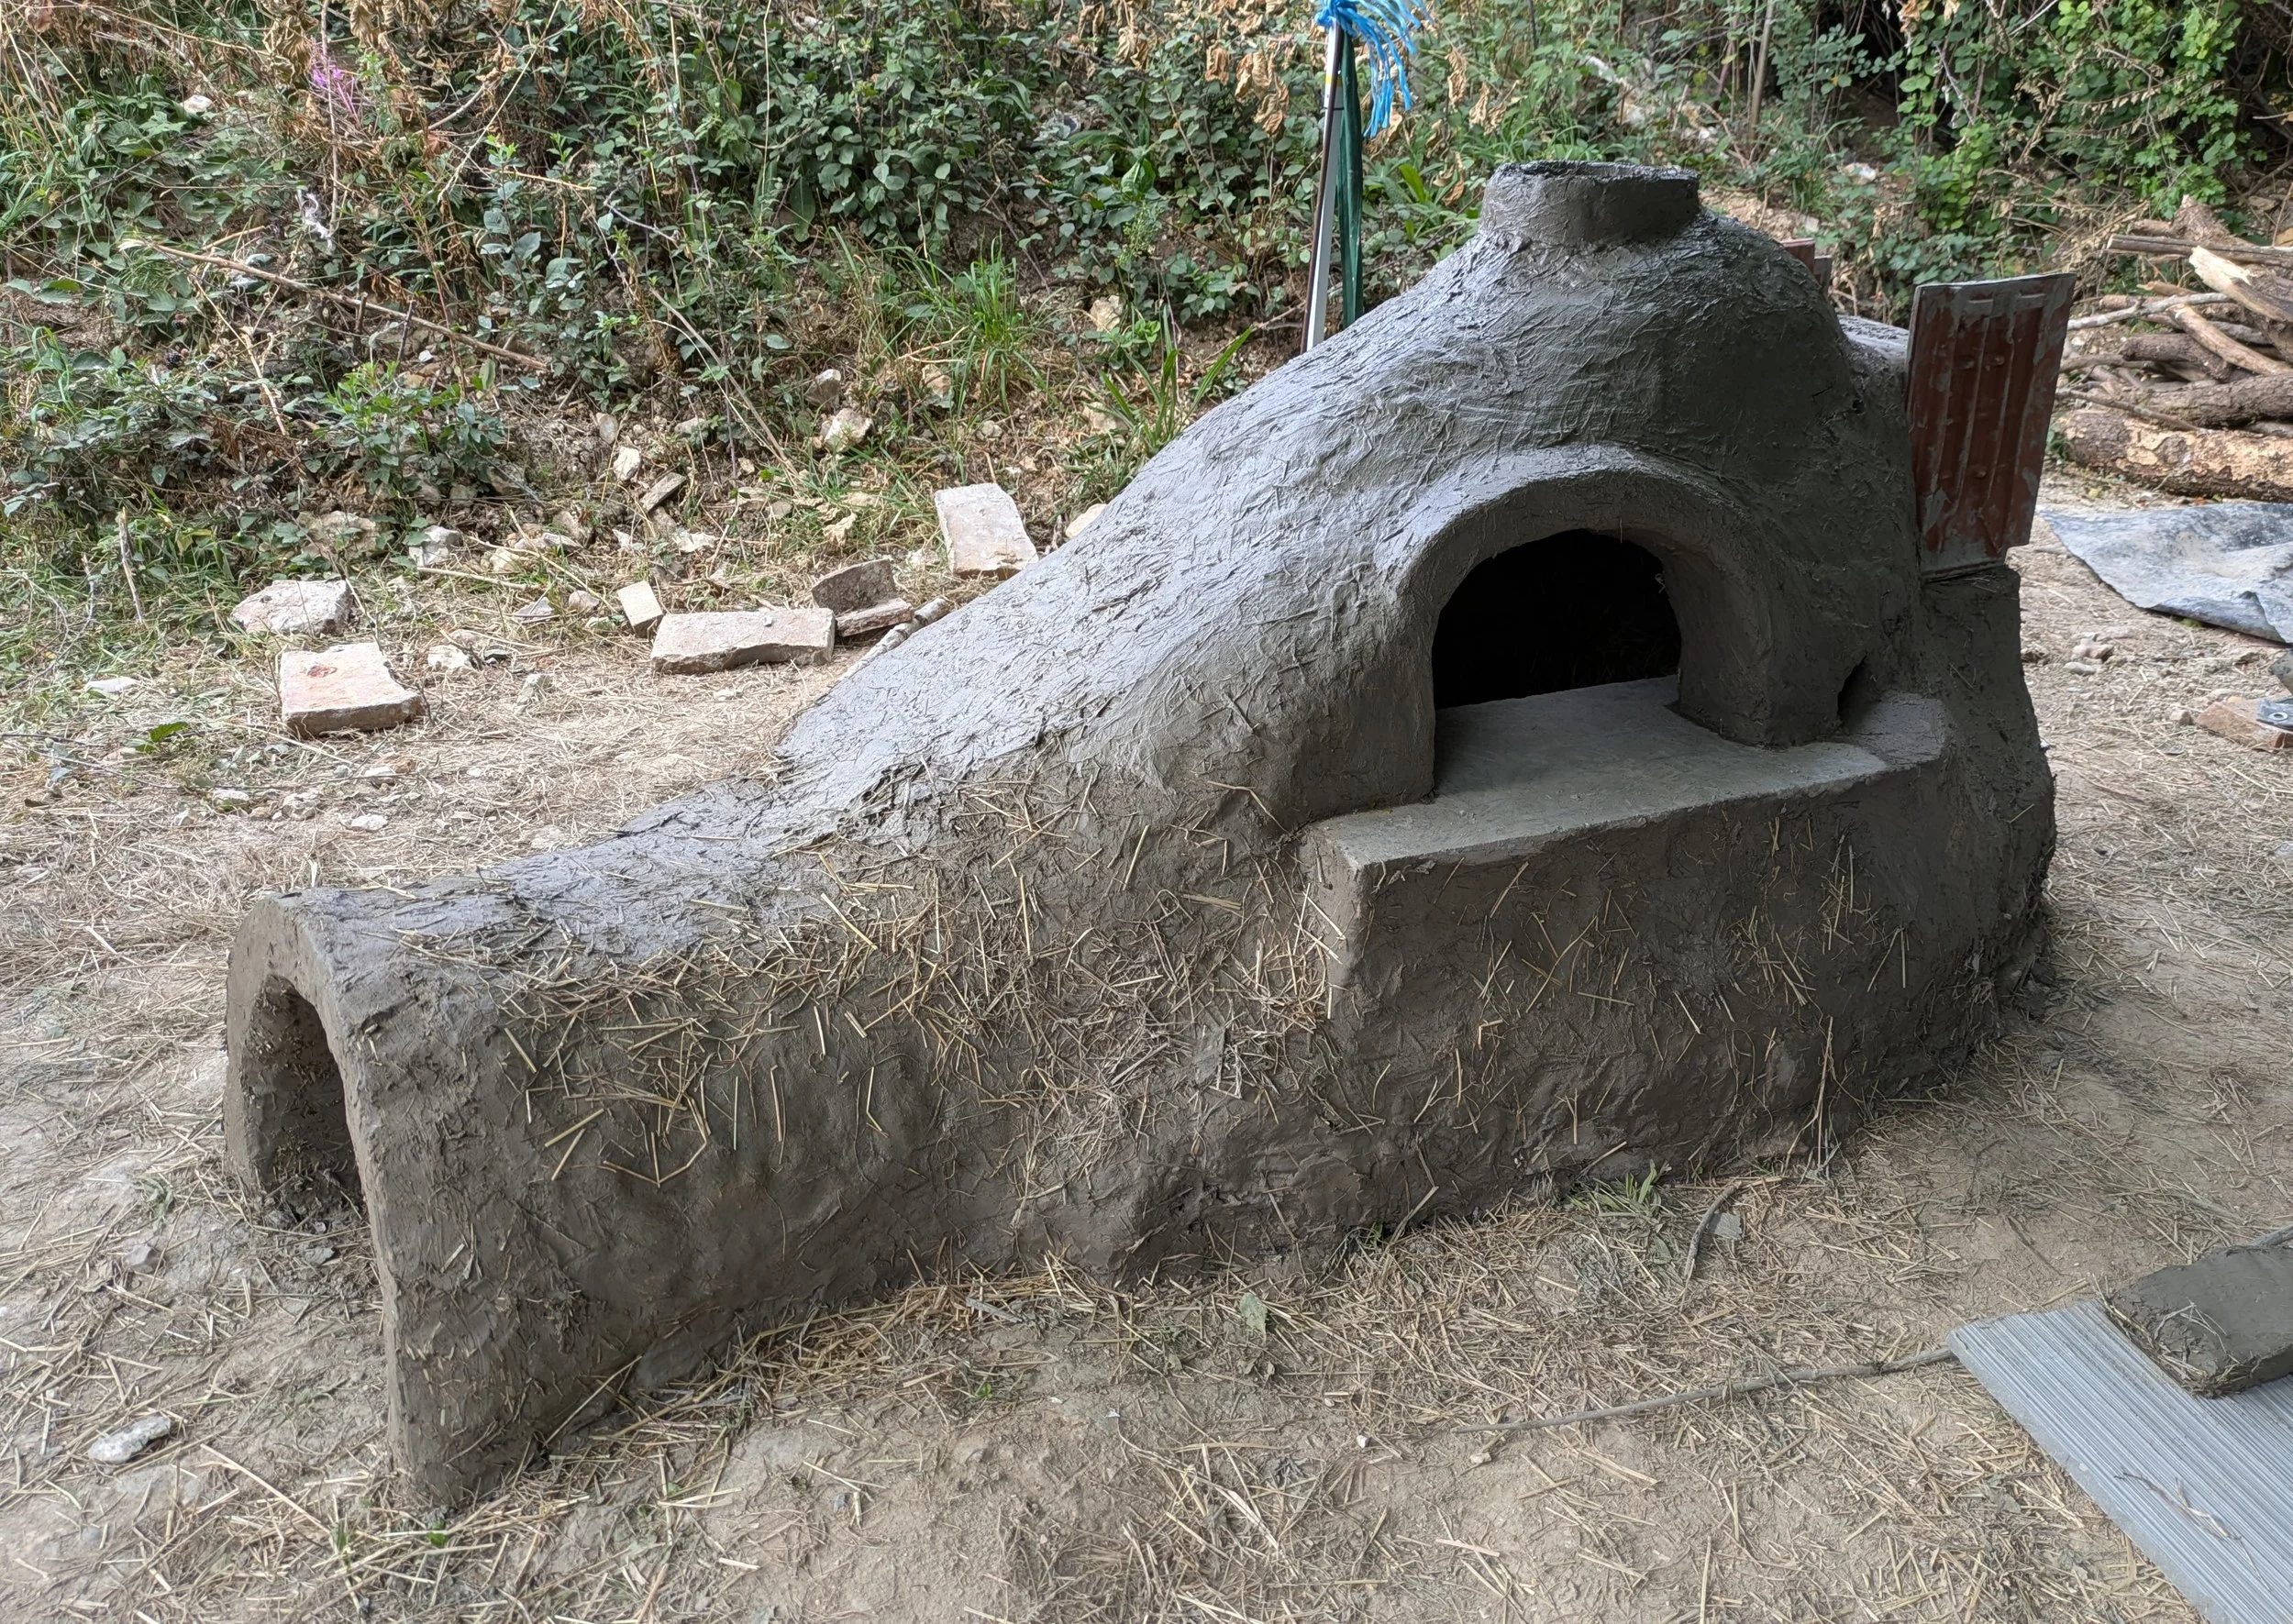
Details such as working ports, warming holes, annealing ovens, thermocouple holes and chimneys can be added as you go or at the end and will depend on the purpose of the furnace.
We added the following to this furnace:
Working ports: One on either side, directly above the shelves, to allow access to the crucibles of molten glass in the fire chamber. The smaller port will be for gathering molten glass, and the larger one for reheating shaped window panes.
Warming holes: One next to each working port to pre-heat the tips of gathering irons/tools before they come into contact with the molten glass. We made one on the left of one port, and one on the right of the other to trial both options.
Annealing oven: To cool worked glass slowly, to relieve internal stresses and reduce the likelihood of it shattering further down the line. We are trialling an inbuilt design, with thick walls between the fire chamber and the annealing oven. This will hopefully allow some, but not all the heat from the fire chamber to reach the annealing oven.
Thermocouple holes: Several small holes just large enough to fit a thermocouple probe in to record internal temperatures of the furnace. We dotted these are different points across the furnace so we can monitor how the temperature changes across the structure during firing.
Chimney collar: To help draw air through to the top of the furnace.
All openings need doors that can be opened/closed as required. We have chosen to use a mixture of modern clay tiles, Roman CBM and daub collars/doors to do this.

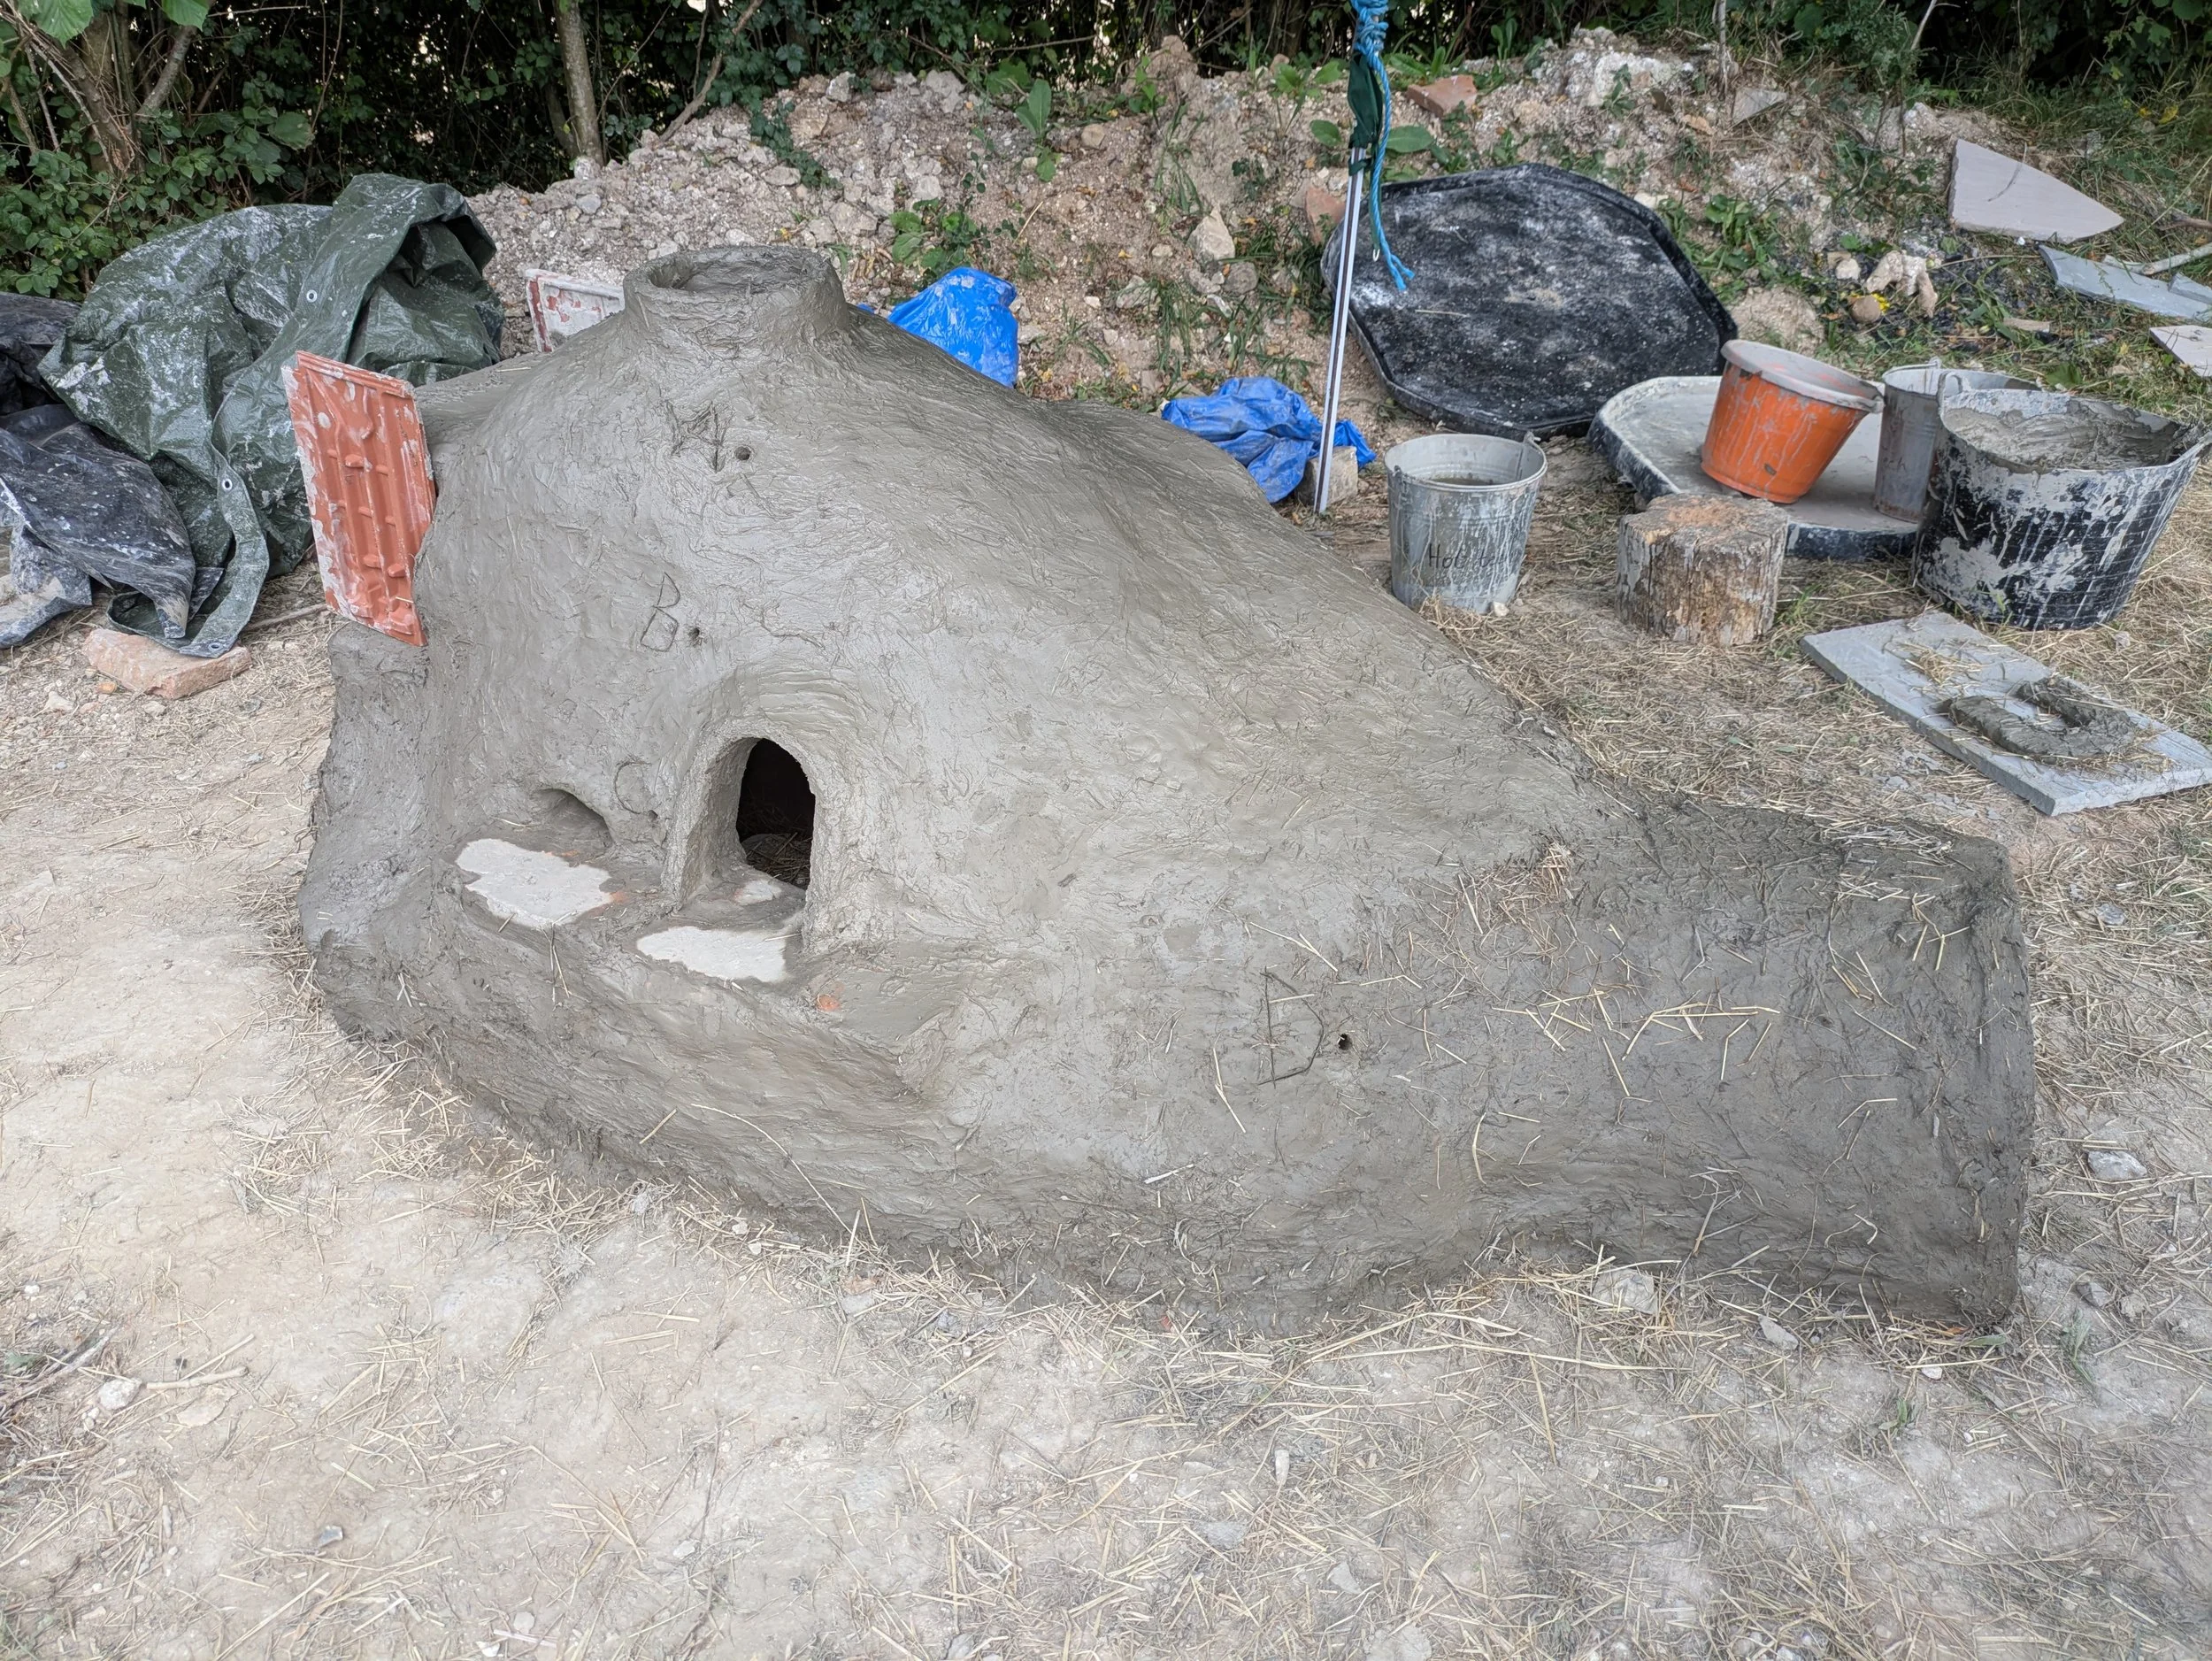

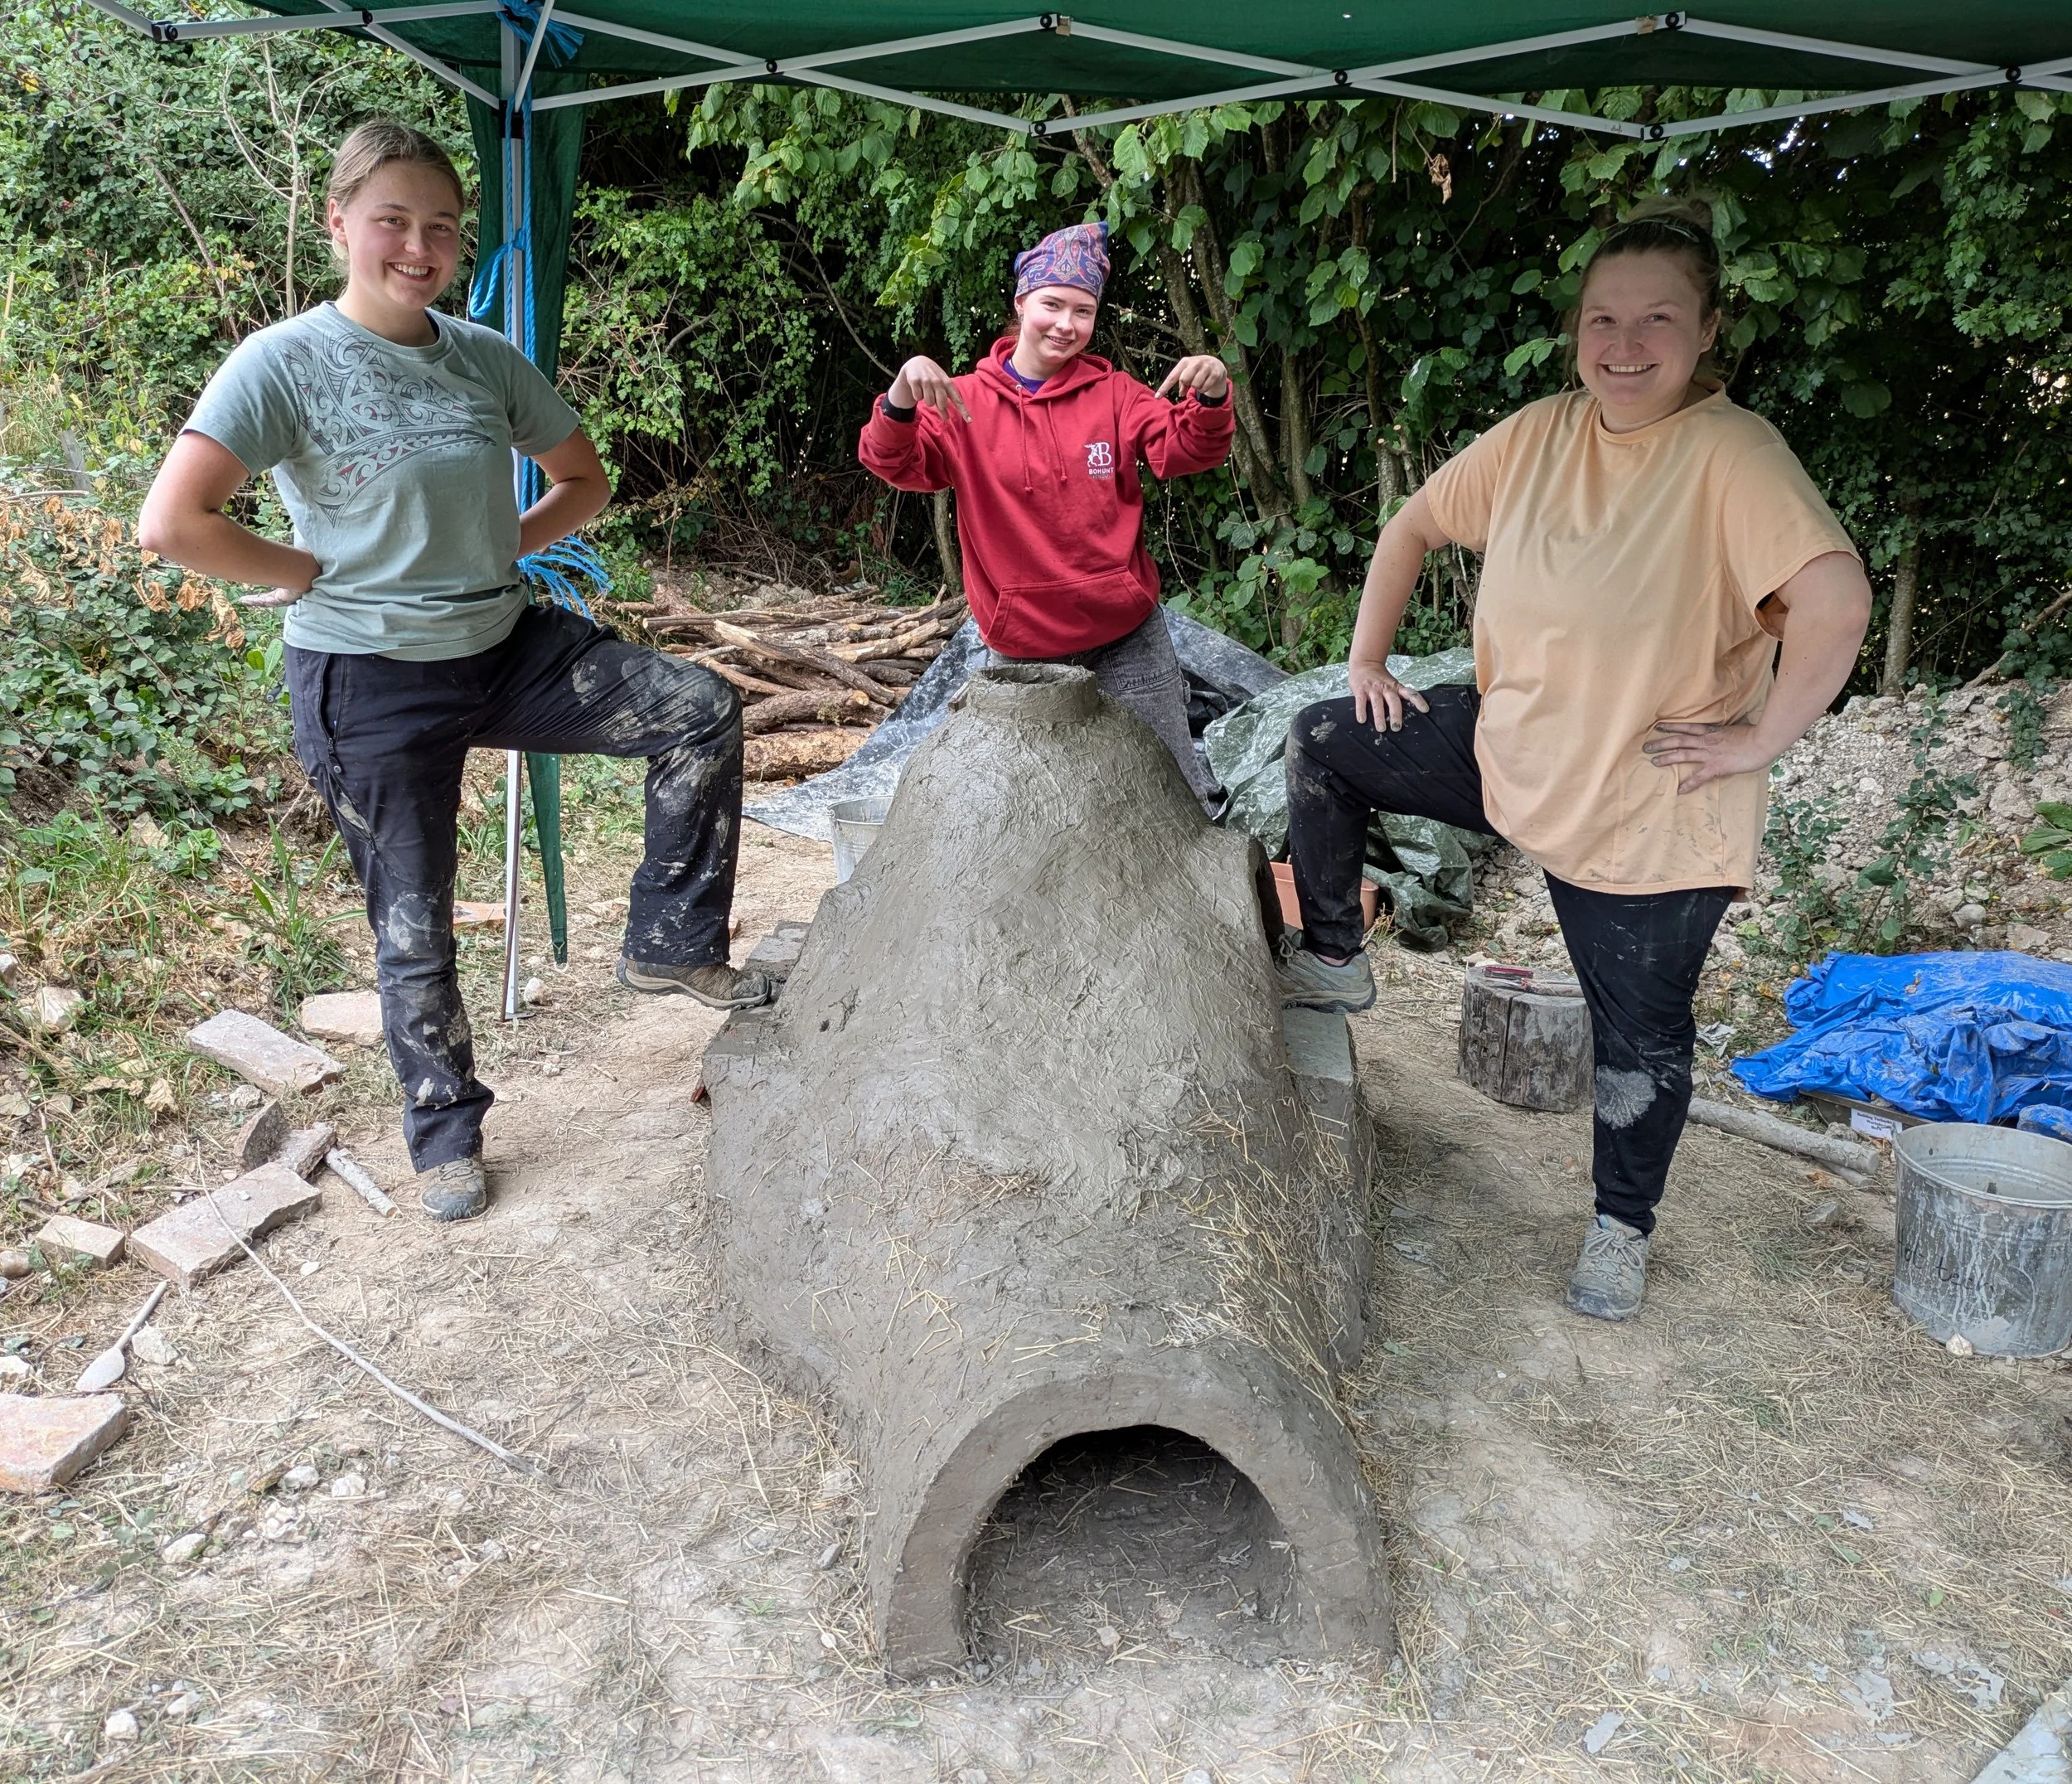
Step 8: Pose Proudly with your Creation!
Is that the end? Absolutely not! I’ll be back in the spring to fire up the furnace, so watch this space…
THE BIGGEST THANK YOU TO…
This furnace build was an incredible team effort! A huge thank you to the volunteers who got stuck in and without whom I could not have done this: Hannah, Pippa, Rob, Chloe, Jean, Jason, Meredith, Mary, Toby and Nicole.
The project was generously funded through grants from:
Northern Bridge Consortium/Arts and Humanities Research Council
Friends of Butser Ancient Farm, Alan & Marilyn Tatlow Bursary
Materials were kindly donated by:
Fishbourne Roman Palace & Gardens (unstratified Roman CBM)
JT Atkinson, Barnard Castle (broken stone slabs)
Tori Peart (Victorian bricks)